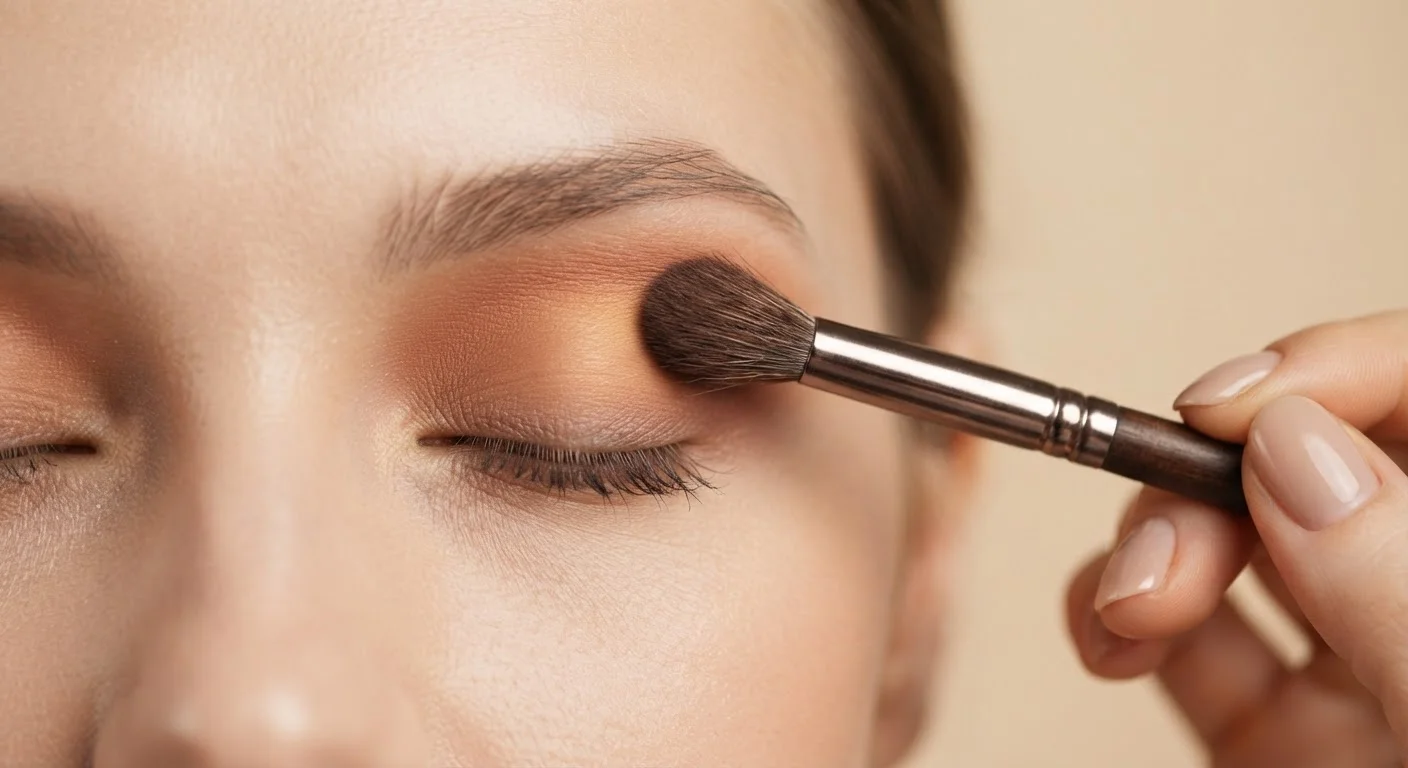
Why Blending Feels Harder Than It Looks
Most blending frustration comes from two misunderstandings: that you need expensive tools, and that the right product will do the work for you. Neither is true. Blending is a mechanical skill - it responds to motion, pressure, and sequence, not price tags. The windshield-wiper technique works because it diffuses pigment at the edges gradually, building a gradient instead of a hard line. Circular buffing packs pigment in, which is great for color saturation but counterproductive for soft edges.
The other common stumbling block is working with too much product at once. A saturated brush drags color across a surface rather than blending it in. The fix is simple: tap off excess before every application, and build in thin layers. Sheer passes blend more predictably than heavy ones every time.
Fluffy blending brush
Diffuses edges and transitions between shades with a windshield-wiper motion.
Flat shader brush
Packs pigment densely onto the lid for concentrated color placement.
Small pencil brush
Targets the lower lash line and inner corner for precise detail work.
Eye primer or base
Locks shadow in place, prevents creasing, and intensifies color payoff.
Setting spray or loose translucent powder
Sets the finished look and reduces fallout onto the face.
If you're newer to makeup overall and want to establish a solid foundation first, the makeup for beginners guide walks through which skills to prioritize.
How to Follow the Steps
What you will need
Prep the lid with primer
Apply a thin layer of eye primer or a small amount of concealer across the entire lid from lash line to brow bone. Pat - don't rub - to avoid stretching the skin. Let it set for 30 to 60 seconds before touching any shadow. This step directly controls how well your blending will work; skipping it means pigment lifts and shifts every time a brush makes contact.
For deeper context on why skin prep matters across your whole face, check out skin prep before makeup.
Map out your placement before loading color
Before picking up any pigment, use a clean blending brush to outline where each shade will live on your lid. Think of the eye in three zones: the lid (center), the crease (the natural fold above the lid), and the brow bone (just below the arch). A light transition shade - something close to your skin tone - goes into the crease first, dry, with a windshield-wiper motion. This establishes a soft base that makes later blending feel effortless rather than muddy.
Apply your mid-tone shade to the crease
Load a small amount of your mid-tone shade onto your fluffy blending brush - tap off excess against the back of your hand. Place the brush at the outer corner of the crease and sweep back and forth in short windshield-wiper arcs, moving upward slightly as you go. Keep your elbow lifted and use your wrist to drive the motion; this gives you more control than moving your whole arm. The goal here is a gradient, not a solid band.
Pack the lid color with your shader brush
Switch to your flat shader brush and load your lid shade (typically a medium or deeper color). Press the brush directly onto the center of the lid using a gentle patting motion rather than dragging. Dragging with a loaded brush disturbs the crease work you just built and pulls pigment into places you don't want it. Pack in thin layers, building opacity gradually. Stop before you think you need to - you'll add depth in the next step.
Blend the transition between lid and crease
Use a clean (or lightly used) fluffy brush to blend where your lid color meets the crease shade. This is the most important step in the sequence. Work in small back-and-forth arcs directly on the line where the two shades meet, gradually feathering upward. Decrease pressure as you move higher - you want color to fade, not stop abruptly. Periodically step back and look at the whole eye to assess where hard lines remain.
Deepen the outer corner and finish the look
If you want a more dimensional result, load a small amount of your darkest shade onto a shader or pencil brush and place it at the outer V - the outer corner of the eye where the upper and lower lash lines meet. Pat it in, then use a clean blending brush to soften the edges into the mid-tone. Finish by sweeping a light, matte or shimmer highlight shade onto the brow bone and inner corner to open up the eye. A final pass with a completely clean brush over the entire eye blends everything together seamlessly.
Practice on the Back of Your Hand First
Before applying to your eyes, try blending two shades together on the back of your hand. This lets you feel how much pressure creates a gradient versus a smear, and how quickly a loaded brush moves differently than a lightly tapped one. It takes only a minute and makes the live application significantly smoother.
Once you've built confidence with a neutral palette, the same layering logic applies to bolder, more expressive looks. The mechanics don't change - only the colors do. For more on how your skin's undertone affects which eyeshadow shades read best on you, color theory in everyday makeup breaks it down clearly. And if mascara on top of a finished look keeps smudging your work, the real reason your mascara smudges is worth a read.
Troubleshooting Common Blending Problems
Even with the right technique, a few specific issues come up often:
- Muddy color: Usually caused by blending two very different colors together while your brush is still loaded with one of them. Wipe the brush on a tissue or use a clean brush to blend the seam.
- Fallout: Loose shimmer and dark shades shed. Apply eye looks before foundation, or use a thin layer of translucent powder under the eye as a shield you can brush away.
- Color fading or creasing mid-day: Almost always a primer issue - revisit Step 1 and ensure full lid coverage.
- Hard edges that won't soften: The brush is likely too stiff or too small. A larger, fluffier brush covers more surface area and disperses pigment more evenly.
Don't Blend With Dirty Brushes
Using the same brush across multiple shades without wiping it transfers color unpredictably and is the leading cause of muddy, indistinct eye looks. Keep a folded tissue nearby to wipe brushes between colors, or designate separate brushes per shade. Even a quick dry wipe makes a meaningful difference in color clarity.
The goal isn't perfection on your first attempt - it's understanding what went wrong so you can adjust. Blending gets noticeably easier within a few practice sessions once your hands learn the motion.