Why Air Leaks Matter More Than Most Homeowners Realize
Air infiltration - uncontrolled outside air entering and conditioned air escaping a home - is one of the most persistent and underappreciated energy drains in residential buildings. According to the U.S. Department of Energy, air leakage can account for 25 to 40 percent of the energy used for heating and cooling in a typical home. Unlike insulation, which slows heat transfer, air sealing physically blocks the pathways that let that heat - or cool air - escape entirely.
The good news is that addressing leaks is among the most cost-effective home improvement tasks available. Materials are inexpensive, the work is accessible to most homeowners, and the results are immediate and measurable. This guide pairs naturally with a broader look at energy efficiency upgrades that actually move the needle.
Air Sealing Before Insulation
If you're planning to add insulation to an attic or crawl space, air seal first. Insulation slows heat transfer but does not stop airflow through gaps. Sealing before insulating maximizes the benefit of both improvements.
Where Air Leaks Hide: Common Problem Areas
Before reaching for caulk or weatherstripping, it helps to know where leaks are most likely to occur. The biggest offenders in most homes fall into predictable categories:
- Windows and doors: Gaps between the frame and the rough opening, as well as worn seals around the sash itself.
- Electrical outlets and switch plates on exterior walls - often overlooked, but can be significant sources of infiltration.
- Plumbing, HVAC, and electrical penetrations where pipes and wires pass through floors, walls, and ceilings.
- Attic hatches and pull-down stairs - frequently unsealed and a major source of heat loss in winter.
- Fireplace dampers when not in use.
- Basement rim joists - the horizontal boards that cap the foundation walls and support the floor above.
A simple detection method: on a windy day, hold a lit stick of incense near suspected areas. Smoke that wavers or blows sideways indicates airflow. This pairs well with the seasonal habit of checking seals as part of annual home maintenance tasks.
Gas Lines and Structural Penetrations Require a Pro
Never use spray foam or caulk to seal around gas supply lines - gas fittings require professional inspection and approved materials. Similarly, any penetration through a fire-rated assembly (such as a wall between an attached garage and living space) must be sealed with a code-approved fire-rated material. When in doubt, consult a licensed contractor before sealing.
Choosing the Right Sealing Material
The two main tools for air sealing are caulk and weatherstripping, and they serve different purposes. Caulk is a flexible sealant applied to stationary joints - places that don't move. Silicone caulk excels in wet areas like around bathroom windows; latex or acrylic-latex caulk is easier to paint and suits most interior and exterior trim applications. For large gaps (over half an inch), use a backer rod before caulking.
Weatherstripping is designed for joints that open and close - door frames, operable windows, and attic hatches. Common types include foam tape (easy to apply, shorter lifespan), V-strip or tension seal (durable, fits inside door and window channels), door sweeps (seal the gap at the bottom of doors), and door shoe assemblies for heavy-use exterior doors.
For deeper envelope improvements, this guide complements our reference on insulation types and R-values, since air sealing and insulation work together.
What you will need
Step-by-Step: Sealing Air Leaks
Follow the steps below to identify and seal the most common air leaks in your home. Work room by room and address the largest gaps first for the greatest impact.
Inspect and identify all leak locations
Walk through your home on a cold or windy day and use an incense stick, smoke pen, or your hand to feel for drafts along window frames, door edges, outlet covers, and baseboards on exterior walls. Mark each location with painter's tape so you don't lose track.
Clean and dry all surfaces
Remove old, crumbling caulk using a caulk removal tool or putty knife and scrape away any loose paint or debris. Wipe surfaces with a damp cloth and allow them to dry completely. For exterior applications, check the weather forecast - most caulks require temperatures above 40°F and no rain for at least 24 hours after application.
Apply caulk to stationary gaps
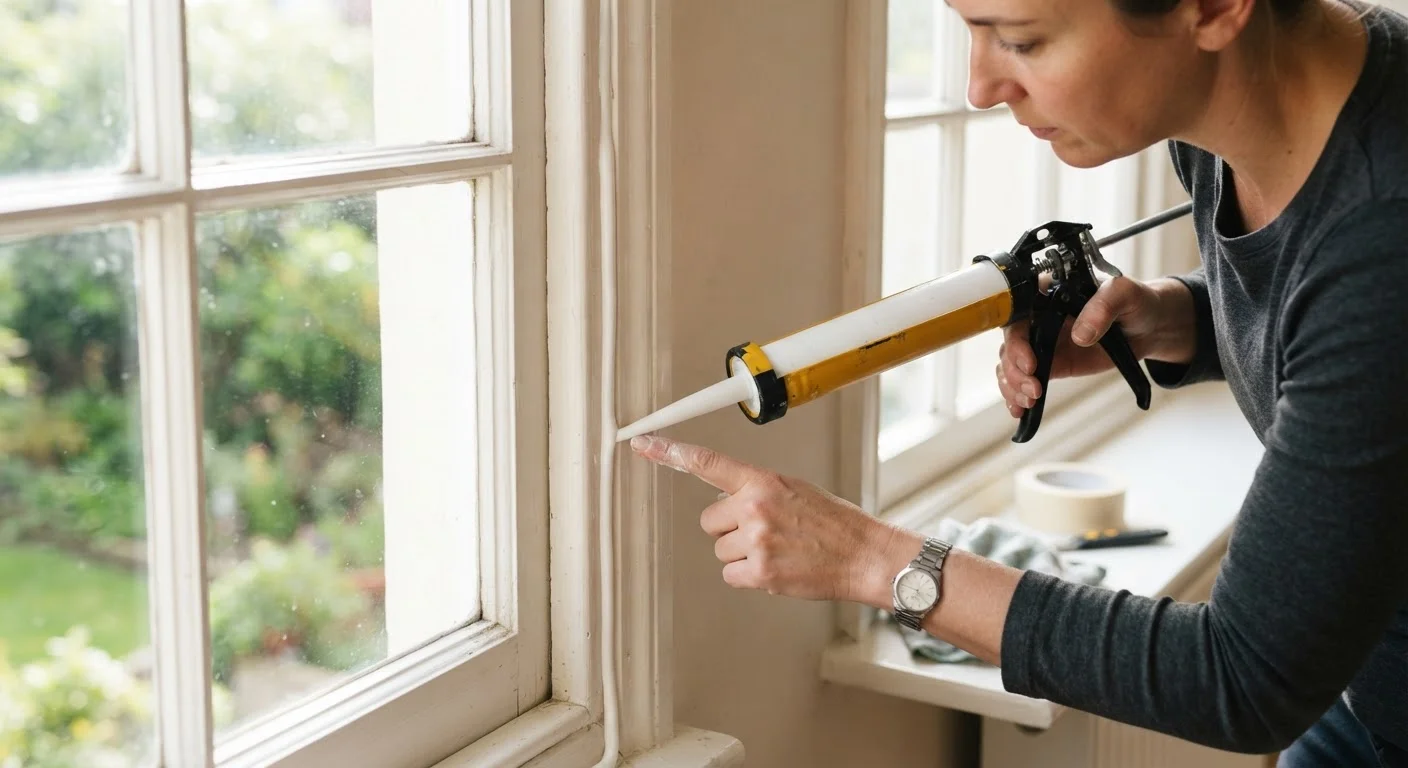
Load the caulk tube into a caulk gun and cut the nozzle at a 45-degree angle - start with a small opening (about 3/16 inch) to maintain control. Apply a continuous, steady bead along the gap, pressing slightly into the joint. Smooth the bead with a dampened finger or caulk-finishing tool within a few minutes before it skins over.
- Hold the gun at a consistent angle.
- Move at a steady, even pace to avoid gaps or excess buildup.
- Tool (smooth) the bead immediately after application.
- Allow to cure fully before painting - check the product label for cure time.
Install weatherstripping on doors and operable windows
Measure the full perimeter of the door or window opening before cutting any material. For door frames, apply V-strip (tension seal) into the channel along the sides of the door stop. For the door bottom, install a door sweep by screwing it to the interior face of the door so it just grazes the threshold when closed. For double-hung windows, foam tape applied to the lower sash meeting rail provides a quick seal; V-strip installed in the sash channel is more durable.
Seal electrical outlets on exterior walls
Turn off the circuit at the breaker panel before removing outlet covers. Behind the cover, you'll find the electrical box - use pre-cut foam gaskets (available at hardware stores) that fit behind the cover plate to block airflow. Replace the cover plate and restore power. For gaps around the box itself inside the wall, a non-expanding fire-rated foam sealant is appropriate.
Address attic hatch and rim joist areas
The attic hatch is one of the most frequently missed air-sealing locations in a home. Apply adhesive-backed foam weatherstripping around the perimeter of the hatch frame so the lid compresses against it when closed. For rim joists in an unfinished basement or crawl space, cut rigid foam insulation board to fit between the joists and seal the edges with spray foam - this both insulates and air-seals in one step.
When to Call a Professional
Most caulking and weatherstripping tasks are well within DIY reach. However, certain situations warrant professional involvement. If you suspect air leaks behind walls, in the attic floor, or at the rim joist in a finished basement, a certified energy auditor can conduct a blower door test - a diagnostic procedure that depressurizes the home and pinpoints every significant leak with precision. This is especially valuable in older homes with complex air-sealing needs.
Penetrations involving gas lines, load-bearing structures, or exterior cladding should always be assessed by a licensed contractor. As part of broader triage on an aging home, see how to prioritize structural versus cosmetic repairs to understand which issues need professional attention first.
This article is for general informational and educational purposes only. Costs, timelines, and results vary based on your home's specific construction and local conditions. Always verify local permit and code requirements before beginning work, and consult a licensed contractor when projects involve structural, electrical, or gas components.