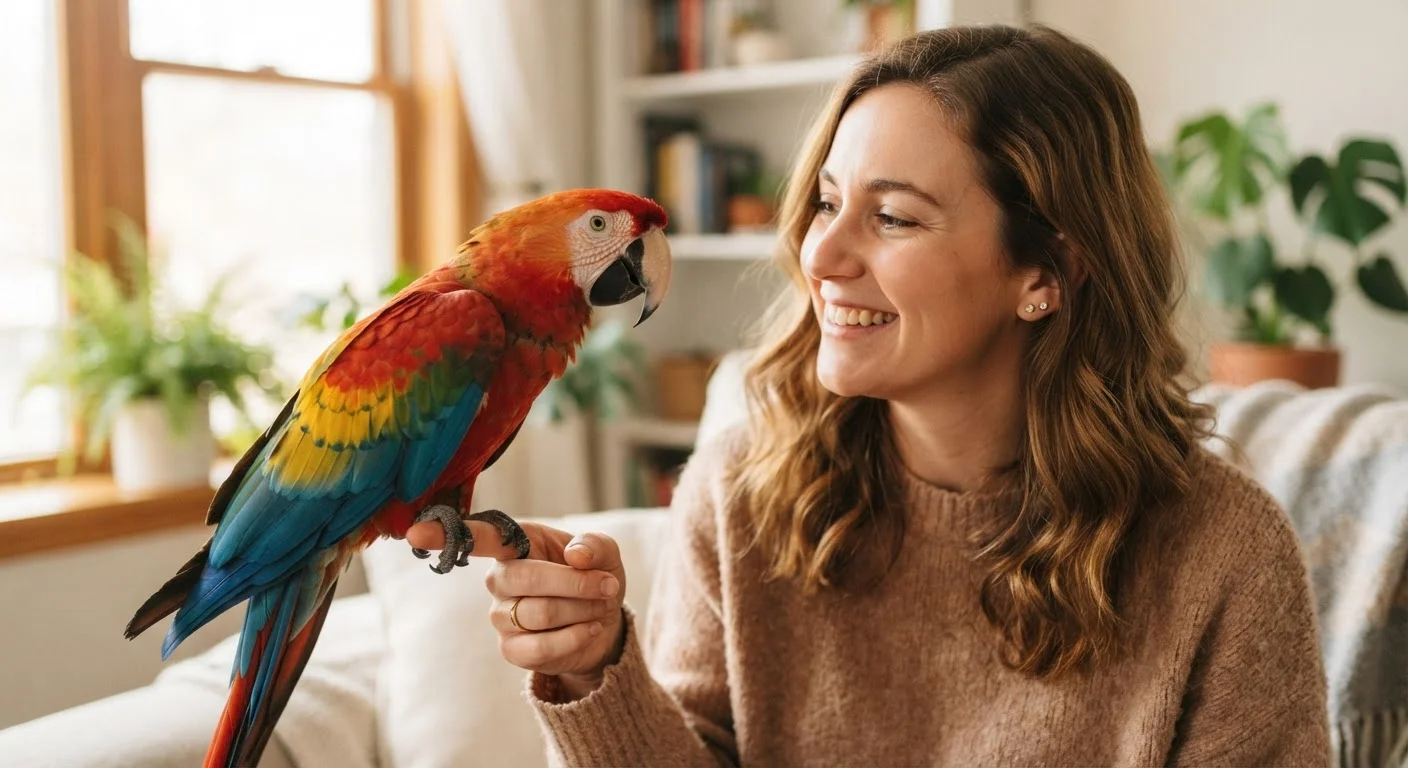
Why These Three Behaviors Matter
Step-up, stay, and cage-return are the foundational behaviors that make living with a companion bird practical and safe. A bird that steps up reliably can be moved quickly in an emergency. A bird that stays calm on your hand allows for handling during health checks. A bird that returns to its cage voluntarily eliminates daily conflict and stress for both bird and owner.
These behaviors are well within reach for most companion species - including budgerigars, cockatiels, lovebirds, conures, and larger parrots - when training is built on positive reinforcement. Positive reinforcement means adding something the animal values (a preferred treat, praise) immediately after a desired behavior occurs, making that behavior more likely to happen again. For a deeper look at the behavioral science behind this, visit our training glossary.
Setting up a low-distraction training environment also pays dividends. Our guide to setting up your home to support training offers practical room-by-room suggestions that apply directly to avian training spaces.
What you will need
Tools That Support the Training Process
You don't need specialized equipment to train a bird effectively, but a few items make the process more efficient.
High-value treat
Primary reinforcer used to reward correct behavior during training.
Designated training perch or T-stand
Neutral ground away from the cage that helps the bird focus without territorial behavior.
Clicker (optional marker)
Provides a precise auditory marker to mark the exact moment of correct behavior before delivering the treat.
Use Slightly Hungry Moments Strategically
Training is most effective when done before a meal rather than right after - food rewards carry more motivational weight when your bird has a healthy appetite. Avoid withholding food as a training strategy; simply time sessions before scheduled feedings.
A clicker - a small handheld device that makes a distinct click sound - can serve as a bridge signal (a precise marker that communicates "that behavior earned a reward"). However, a consistent verbal marker such as "Yes!" or "Good" works equally well for most owners.
Step-by-Step Training Instructions
Follow the steps below in sequence. Each step builds on the one before it - avoid skipping ahead if the bird isn't responding reliably to the current behavior.
Never Use Fear or Physical Force
Grabbing, chasing, or physically pushing a bird will cause lasting damage to your relationship and can trigger biting, screaming, and phobic behavior. Birds trained through force may become chronically stressed, which can suppress immunity and mask illness. Always end sessions on a positive note and respect when a bird is clearly overwhelmed.
Establish Trust Before Introducing Commands
Before any formal cue training, your bird needs to associate your hand with safety, not threat. Spend several short sessions simply sitting near the cage, speaking softly, and offering treats through the bars. Once the bird readily takes treats from your fingers without retreating, you're ready to move forward.
Introduce the Step-Up Cue
Hold your index finger or a short dowel perch horizontally against the bird's lower chest, just above the feet - this gentle pressure naturally prompts the bird to step up. Say "Step up" in a clear, consistent tone at the exact moment you apply pressure. The instant the bird steps onto your finger, deliver a treat and verbal praise immediately. Repeat 5-8 times per session.
Build Duration with a Stay Behavior
Once your bird steps up reliably, begin extending the time it remains perched on your hand before receiving its reward. Start with just 3-5 seconds, then gradually increase duration over multiple sessions. Use a calm, steady posture - sudden movements will break the behavior. You can introduce a verbal cue like "Stay" or simply withhold the treat marker until the desired duration is reached.
Teach Cage-Return Using Target Training
With the bird on your hand near the open cage door, guide it toward a familiar perch inside the cage. As the bird steps off your hand onto the interior perch, say "Home" (or your chosen cue) and immediately offer a treat through the cage bars. This pairs the act of entering the cage with a positive outcome, rather than signaling the end of fun. Repeat this approach every time you return the bird to its cage - not just during formal sessions.
Practice Short, Consistent Daily Sessions
Aim for two to three sessions of 5-10 minutes each day rather than a single long session. As noted in our guide on why consistency matters more than intensity, short and regular practice builds more durable behavior than occasional marathon sessions. End every session before the bird loses interest - stopping while engagement is high keeps motivation strong for the next session.
Troubleshooting Common Challenges
Even with a consistent approach, you may encounter setbacks. Here's how to address the most common ones:
- Bird refuses to step up: Go back to treat-through-bars socialization and rebuild confidence. Some birds need more trust-building time before accepting hand contact.
- Bird steps up but immediately flies off: Keep initial sessions in a small, enclosed room. As recall improves, you can move to larger spaces. This contrasts with recall training in dogs - see our article on teaching a reliable recall for a comparison of how recall is built across species.
- Bird resists entering the cage: Review whether the cage is associated with the end of activity. Add foraging enrichment inside the cage and practice cage-entry during the middle of out-of-cage time - not just at the end - so it doesn't predict loss of freedom.
Watch for Signs of Stress During Training
Flattened feathers, rapid breathing, wide eyes (pinning), or repeated biting are signals your bird needs a break. Pushing through visible stress signs undermines the training process and can harm your bird's wellbeing. If these signs appear consistently, consider consulting an avian veterinarian to rule out underlying health issues.
If your bird suddenly stops responding to previously learned cues or shows changes in behavior alongside other physical changes, consult an avian veterinarian. Behavioral regression can sometimes signal an underlying health issue. Our resource on recognizing illness in avian pets can help you identify when a vet visit is warranted.
This article provides general pet care and training information for educational purposes only. It is not a substitute for guidance from a qualified avian veterinarian or certified animal behavior professional. If your bird shows signs of illness or persistent behavioral difficulty, consult a licensed avian vet.