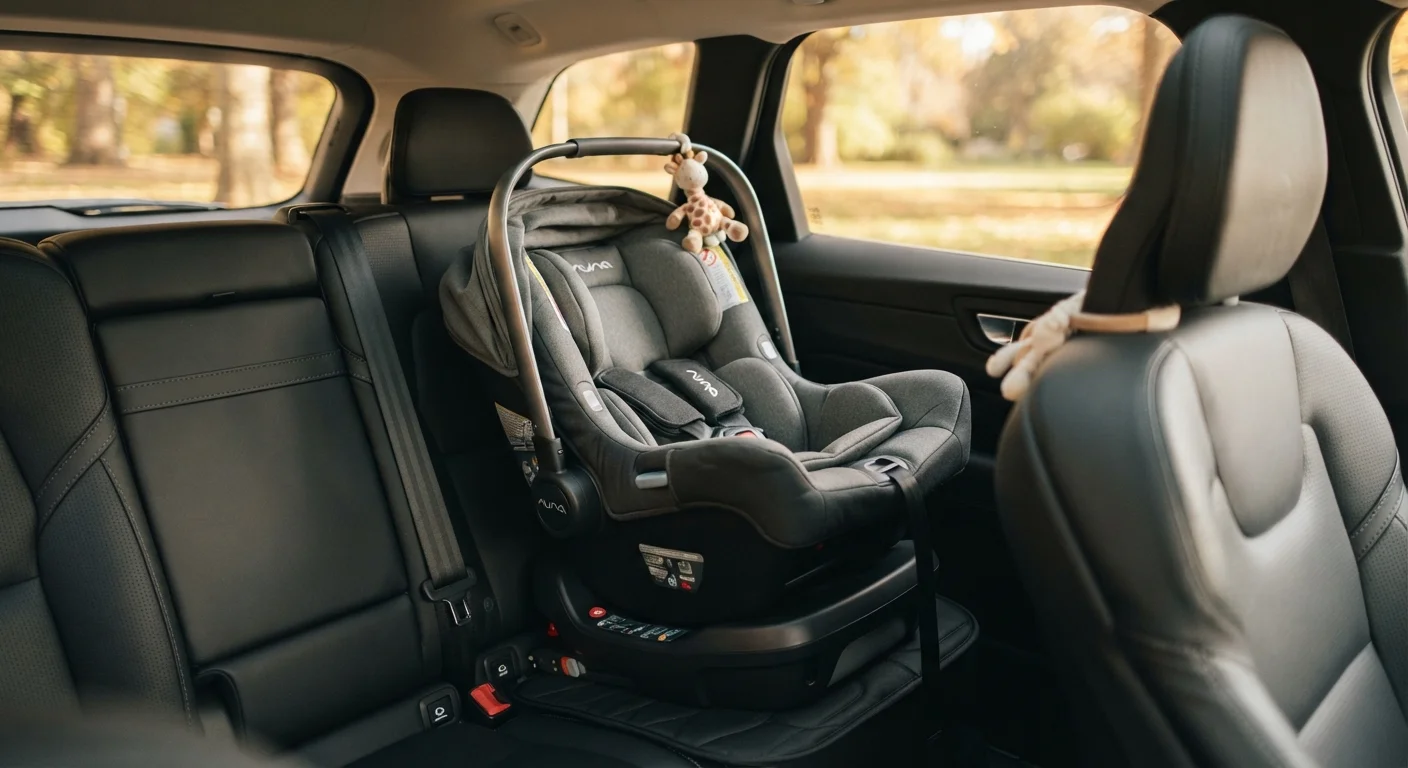
Why Car Seat Stage Matters More Than Age
American parents are often told to transition their child to the next car seat when they hit a certain birthday. The reality is more nuanced - and more important. Car seat readiness is based on a child's physical size relative to the seat's rated limits, not a calendar date. Moving a child forward too soon removes protective design features that are specifically engineered for smaller bodies.
Federal motor vehicle safety standards require every car seat sold in the United States to meet rigorous crash-test benchmarks. But those standards only protect children when the right seat is used in the right way at the right developmental stage. Understanding the stages is the foundation of everything else.
LATCH System
Lower Anchors and Tethers for Children - a standardized set of metal anchor points built into vehicles and car seats that allow installation without routing the seat belt through the seat.
Five-Point Harness
A restraint system with five attachment points - two at the shoulders, two at the hips, and one at the crotch - that secures a child snugly within the car seat shell.
Top Tether
A strap that connects the top of a forward-facing car seat to a dedicated anchor point in the vehicle, limiting how far the seat and child's head move forward in a crash.
Belt-Positioning Booster
A seat that raises a child so the vehicle's existing seat belt crosses the child's body at the correct locations - chest and hips - rather than the neck and abdomen.
CPST
Child Passenger Safety Technician - a trained and nationally certified professional who can inspect car seat installation and advise caregivers on correct use.
Recline Angle
The tilt of a rear-facing car seat, which must fall within a manufacturer-specified range to keep an infant's head from falling forward and to ensure optimal crash protection.
The Four Stages of Child Passenger Safety
Child passenger safety in the U.S. is organized around four progressive stages, each corresponding to a child's size and developmental stage:
- Rear-facing infant or convertible seat - Used from birth. Rear-facing orientation spreads crash forces across the head, neck, and back simultaneously, which is critical for infants whose spines are still developing. Children should stay rear-facing until they reach the seat's maximum weight or height limit.
- Forward-facing seat with harness - Once a child outgrows rear-facing limits, a forward-facing seat with a five-point harness provides the next level of protection. Children should remain harnessed until they exceed this seat's limits as well.
- Belt-positioning booster seat - A booster positions the vehicle's seat belt correctly across a child's smaller frame. Without it, the lap belt can rest on the abdomen and the shoulder belt can cross the neck - both dangerous in a crash. Children typically use boosters until they are 4 feet 9 inches tall and can pass the seat belt fit test.
- Vehicle seat belt alone - When a child can sit with their back flat against the seat, knees bent naturally at the seat edge, and the seat belt lying across the chest and hips correctly, they are ready for the seat belt alone. This typically occurs between ages 8 and 12.
For a broader view of how safety knowledge builds as children grow into drivers, see our guide on the graduated licensing system for teen drivers.
Stay in Each Stage Until the Limits Are Reached
Many parents move children to the next stage prematurely, thinking a birthday milestone is the trigger. Instead, always check your specific seat's height and weight maximums printed on its label. Keeping a child in a rear-facing or harnessed seat as long as the seat allows is one of the most effective safety decisions you can make.
Installation Basics: LATCH vs. Seat Belt
Every car seat can be installed using one of two federally approved methods:
- LATCH (Lower Anchors and Tethers for Children) - A system of metal anchors built into vehicle seat bight areas (where the seat back meets the cushion) and a top tether anchor on the vehicle's rear shelf or seat back. LATCH eliminates the need to route a seat belt through the car seat, which some parents find easier. However, LATCH systems have a combined weight limit - typically 65 lbs. total (child plus car seat) - after which the seat belt method must be used.
- Seat belt installation - The vehicle's existing seat belt is routed through designated belt paths on the car seat and locked in place. This method works for all weight ranges and is required when a child exceeds the LATCH weight limit.
After installation, always attach the top tether strap when using a forward-facing seat. The tether anchors the top of the seat to the vehicle, dramatically reducing head movement in a forward crash - yet it is frequently skipped.
Keeping your vehicle in good working order supports every safety system in it. Our guide on what goes into a vehicle safety inspection explains how professionals assess your car's structural and safety systems.
Common Installation Mistakes and How to Avoid Them
Studies by the National Highway Traffic Safety Administration (NHTSA) have consistently found that a significant portion of car seats are used incorrectly. The most common errors include:
- Loose installation - The seat moves more than one inch when tested at the belt path. Tighten until movement is minimal.
- Loose harness straps - You should not be able to pinch excess harness webbing between your fingers at the child's collarbone. Straps should be snug with the chest clip at armpit level.
- Incorrect recline angle - Rear-facing seats must be reclined at the angle specified by the manufacturer (usually marked on the seat itself) to prevent a newborn's head from falling forward and restricting the airway.
- Wrong belt path - Many convertible seats have separate belt paths for rear-facing and forward-facing positions. Using the wrong path can cause the seat to perform unpredictably in a crash.
- Skipping the top tether - For forward-facing seats, the top tether is a required part of proper installation, not an optional accessory.
Winter Coats and Car Seats Don't Mix
Thick winter coats create dangerous slack in harness straps that isn't visible until a crash compresses the material. Dress children in thin layers and place a blanket over the secured harness instead. This applies to any bulky outerwear, including snowsuits and heavy fleece jackets.
Getting a Professional Check and Staying Current
Even careful, well-informed caregivers can make installation errors that are difficult to detect without training. NHTSA maintains a national network of Child Passenger Safety Technician (CPST) inspection stations where certified technicians check installation at no charge. Locations can be found through NHTSA's SaferCar resources or through Safe Kids Worldwide.
Beyond installation, keep these ongoing considerations in mind:
- Check your seat's expiration date - printed on the label or shell - and retire the seat when it expires.
- Register your car seat with the manufacturer so you receive recall notifications.
- Re-read the seat manual when you move to a new vehicle, since installation can differ by car model.
- Never use a seat that has been in a moderate or severe crash without verifying its safety per the manufacturer's guidelines.
Child passenger safety is one part of a broader commitment to protecting young people on the road. Explore our coverage of school zone and school bus traffic laws for the rules that govern how drivers must behave around children outside the vehicle as well.
This article provides general educational information about child passenger safety and is not a substitute for guidance from a certified Child Passenger Safety Technician or your car seat manufacturer's instructions.