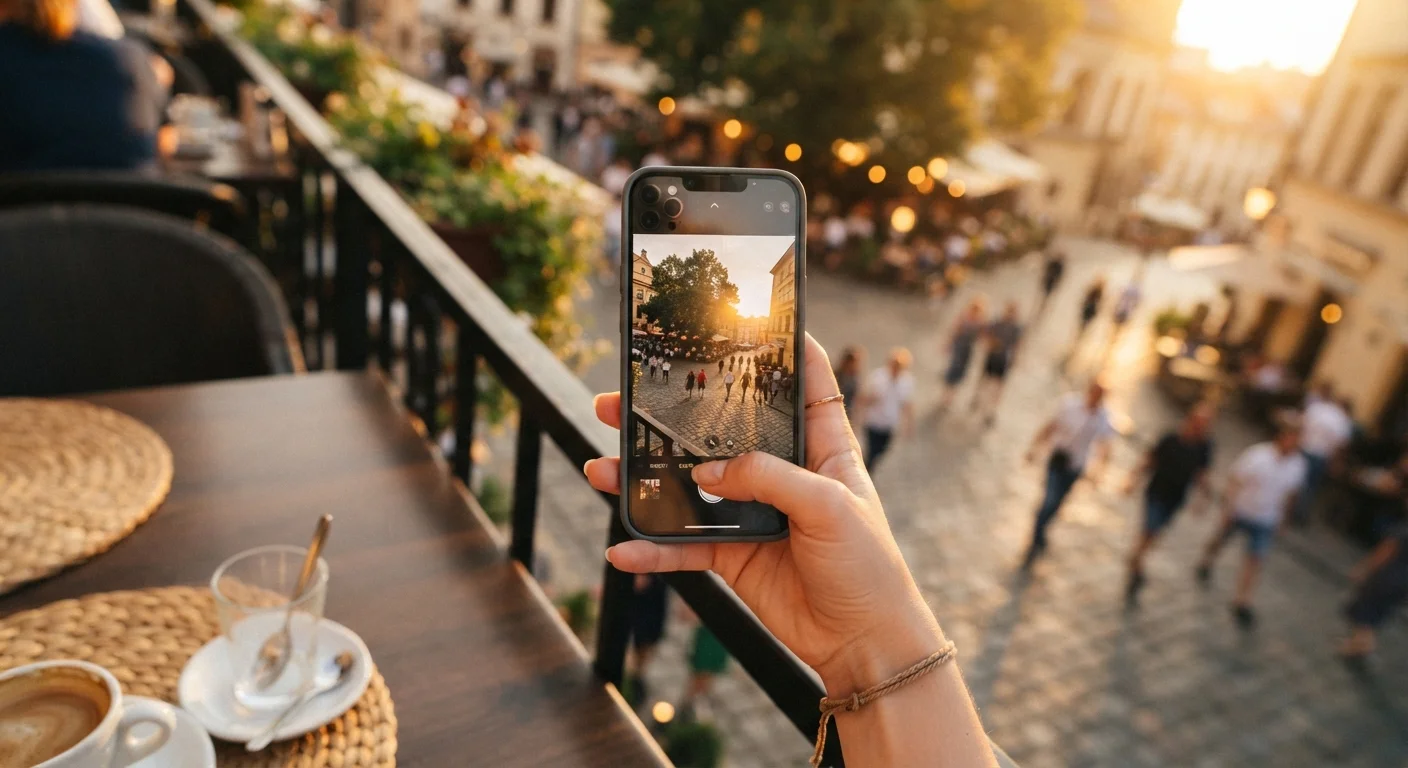
Why Gear Is Less Important Than You Think
The photography community has a tendency to equate better photos with better equipment. In reality, the fundamentals - light, composition, and timing - matter far more than the hardware you're holding. Modern smartphone cameras are engineered with computational imaging that automatically handles many technical decisions, which means your attention is freed up for the creative choices that actually separate a memorable photo from a forgettable one.
Whether you're just getting started with your first smartphone or have been using one for years, the techniques in this article require nothing beyond what's already in your pocket.
Understanding and Working With Light
Light is the single variable that most separates strong phone photos from weak ones. Harsh midday sun casts unflattering shadows and blows out highlights. The hour after sunrise and the hour before sunset - commonly called the golden hour - produce warm, directional light that adds depth and dimension to almost any subject.
Indoors, position your subject facing a window rather than with the window behind them. Backlit subjects confuse your camera's metering system and result in silhouettes when you want detail. If you're in a room with overhead fluorescent lighting, move closer to any natural source you can find - even a partially open door makes a difference.
Overcast Days Are Underrated
Clouds act as a natural diffuser, spreading sunlight evenly and eliminating harsh shadows. On a fully overcast day, the entire sky becomes a giant soft light source - ideal for portraits and close-up detail shots. If you've avoided shooting outdoors on cloudy days, reconsider: the conditions are often more technically forgiving than bright sunshine.
Composing Your Shot Intentionally
Composition is the arrangement of elements within your frame. Most smartphone cameras include an optional gridline overlay - a 3×3 grid - that helps you apply one of photography's most durable principles: the rule of thirds. Rather than centering your subject, place it at one of the four intersections of those grid lines. This creates visual tension that makes an image feel dynamic rather than static.
Look for leading lines - roads, fences, rivers, or staircases - that naturally draw the eye through the frame. Pay attention to what's in your background; a cluttered background competes with your subject. Physically moving a few steps left, right, or lower to the ground can completely transform what appears behind your subject.
93%
Share of photos taken on smartphones
Industry analyses of image-sharing platforms consistently show the overwhelming majority of photos uploaded globally are captured on smartphones rather than dedicated cameras.
3×3
Grid intersections used in rule of thirds
Photography educators widely identify the rule of thirds as one of the first compositional principles taught because it produces measurably more engaging images than centered framing.
Using Your Camera App's Built-In Controls
Most stock camera apps on both Android and iOS expose controls that many users never touch. Understanding even a few of them noticeably improves results:
- Exposure lock and focus lock: Tap and hold on your subject to lock both focus and exposure to that point. This prevents the camera from constantly recalibrating if your subject or the light shifts slightly.
- Exposure slider: After tapping to set focus, a small sun icon usually appears. Drag it up or down to brighten or darken the frame before you shoot.
- HDR mode: High Dynamic Range (HDR) blends multiple exposures to preserve both highlight and shadow detail. It's particularly useful in high-contrast scenes like a subject standing in front of a bright sky.
- Shooting resolution: Check your camera settings and confirm you're shooting at the highest resolution your phone supports. Lower-resolution settings save storage but discard detail you cannot retrieve.
You don't need third-party apps to access these tools - they're already built in and available to everyone.
The Physical Basics That Prevent Poor Photos
Two simple physical habits eliminate the most common causes of disappointing phone photos. First, clean your lens. Smartphone lenses live in pockets and bags, accumulating fingerprints and smudges that scatter light and reduce sharpness. A quick wipe on a soft cloth takes seconds and makes a measurable difference.
Second, stabilize your phone. Camera shake during the exposure - especially in lower light when the shutter stays open longer - produces blur that no software can fully correct. Brace your elbows against your body, or rest the phone against a stable surface. Use the volume button or a Bluetooth shutter remote if your phone supports it, since tapping the touchscreen itself can introduce movement.
These habits, paired with deliberate attention to light and composition, represent the full foundation of strong smartphone photography. As your skills develop, you may want to explore other ways your phone can work better for you - from organizing your phone so you can actually find things to reviewing privacy settings every smartphone owner should review.
When to Consider Third-Party Apps
Built-in camera apps cover the vast majority of everyday photography needs and are the right starting point. Third-party camera apps exist that offer manual controls over ISO, shutter speed, and white balance - but these are worth exploring only after you're comfortable with the foundational techniques described here. Mastering the basics in any app will transfer directly to more advanced tools later.