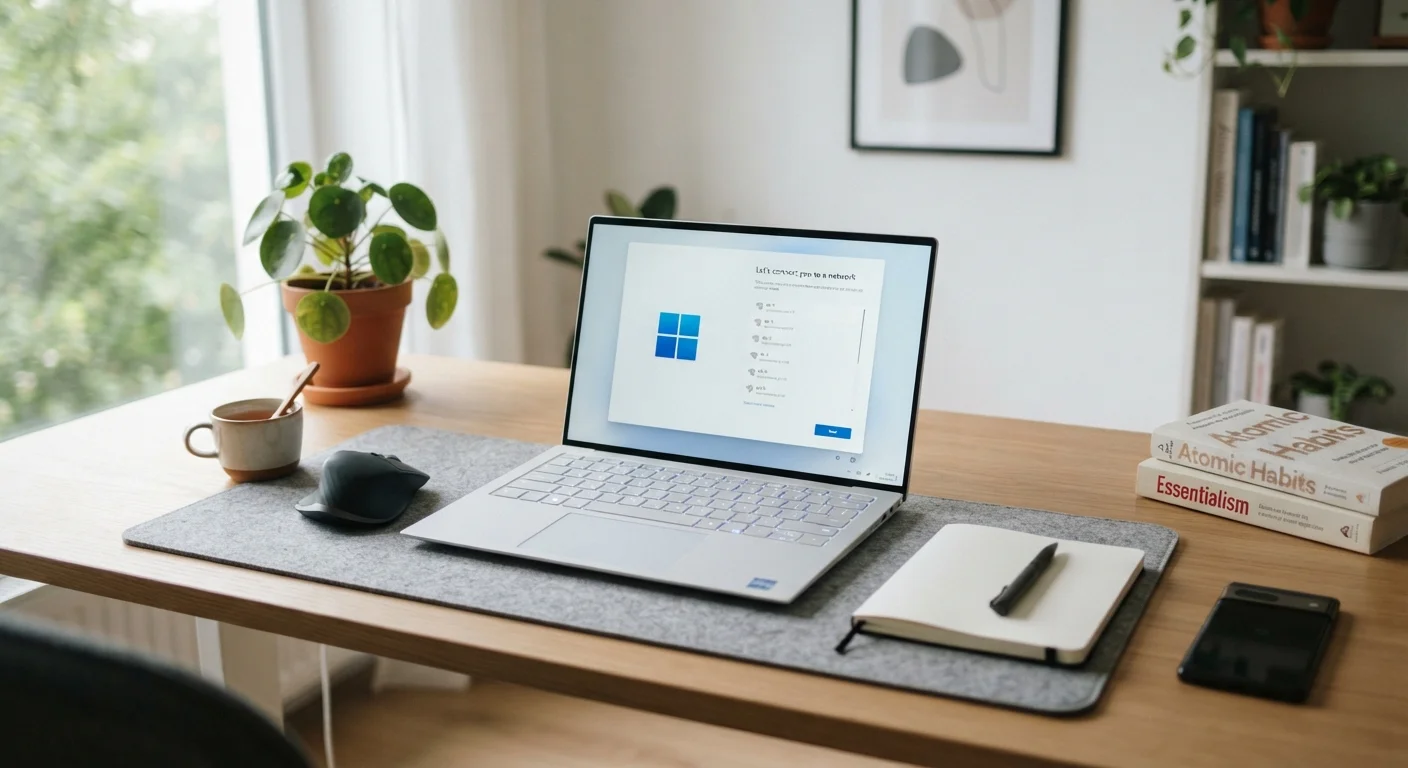
Why Setup Order Matters
Most people unbox a new PC and immediately start downloading apps or moving files. That impulse is understandable, but it skips steps that are much harder to fix retroactively. Security patches left uninstalled, privacy settings left at defaults, and missing backups are all vulnerabilities you're building your digital life on top of.
Spending 30-60 minutes on a structured setup process pays dividends for the entire life of the machine. The steps below are ordered deliberately: security first, then personalization. If you're coming from macOS, the workflow differs - see our guide to setting up a new Mac for that platform's equivalent process.
What you will need
What You'll Need
Before you begin, gather the items below. Having your Wi-Fi credentials and a backup destination ready prevents interruptions mid-setup.
Windows Update
Downloads and installs the latest security patches and driver updates from Microsoft.
Windows Security (Defender)
Provides built-in antivirus and firewall protection without requiring a third-party install.
External hard drive or USB drive
Used as a destination for local backup copies of your files via Windows Backup or File History.
Password manager
Stores and generates strong, unique passwords for every account you create on the new PC.
Don't Skip the Microsoft Account Decision
Windows will push you hard to sign in with a Microsoft account during setup. This ties your PC to cloud sync features you may not want. You can choose a local account instead - look for the small 'Sign-in options' or 'Domain join instead' link on the sign-in screen. Think through which option fits your privacy preferences before proceeding.
Step-by-Step Setup Instructions
Follow these steps in order. Each builds on the last - skipping ahead can leave gaps that are tedious to backfill later.
Complete the out-of-box setup (OOBE)
Power on the PC and follow the on-screen prompts: choose your region, keyboard layout, and network. When prompted to sign in, decide whether you want a Microsoft account or a local account. Both are legitimate choices - a Microsoft account enables syncing across devices, while a local account keeps your data on-device.
Run Windows Update immediately
Open Settings → Windows Update and click Check for updates. Install everything available, including optional driver updates. Restart when prompted, then check for updates again - it often takes two or three rounds to fully catch up.
Review privacy settings
Go to Settings → Privacy & security. Walk through each category - location, camera, microphone, diagnostics data - and disable anything you don't want apps to access. Windows enables broad data collection by default; these settings let you narrow it significantly.
Verify Windows Security is active
Open Windows Security from the Start menu and confirm that Virus & threat protection, Firewall & network protection, and Account protection all show green checkmarks. If any area shows a warning, follow the on-screen prompt to resolve it before installing other software.
Remove bloatware and unnecessary apps
Go to Settings → Apps → Installed apps. Scroll through the list and uninstall trial software, manufacturer utilities you don't need, and promotional apps. Be conservative - only remove things you recognize as unnecessary. If uncertain about a particular app, a quick search of its name will clarify its purpose.
Set up backups
Windows includes two built-in backup tools worth knowing: File History (Settings → System → Storage → Advanced storage settings → Backup options) for continuous file versioning to an external drive, and Windows Backup for cloud-based folder sync via OneDrive. Configure at least one of these now, before you start saving personal files.
Install a browser and essential software
Download your preferred web browser first (Edge is pre-installed and functional). Then install only what you actually need - a password manager, productivity apps, communication tools. Install software exclusively from official developer websites or the Microsoft Store to minimize malware risk.
Use a Password Manager from Day One
Setting up a password manager during initial configuration - rather than retrofitting one later - means every new account you create on this PC will be properly secured from the start. Many password managers offer free tiers that work well for individual users. For a broader look at protecting your machine, see our computer security basics guide.
After Setup: Building Good Ongoing Habits
Initial configuration is a one-time event, but keeping your PC secure requires a small amount of ongoing attention. Enable automatic Windows updates so patches apply without manual intervention. Periodically review which apps have access to your microphone, camera, and location. And revisit your backup setup every few months to confirm it's actually running.
For a deeper dive into staying protected over the long term, our computer security basics guide covers passwords, phishing recognition, and safe browsing habits in plain language. If you're also setting up smart home devices on the same network as this PC, home network security habits are worth reviewing at the same time.
Connect to the Internet Cautiously at First
Before completing setup, avoid entering passwords or accessing sensitive accounts until Windows Update has finished running. Freshly unboxed PCs can be months behind on security patches. A brief delay here meaningfully reduces your exposure window.