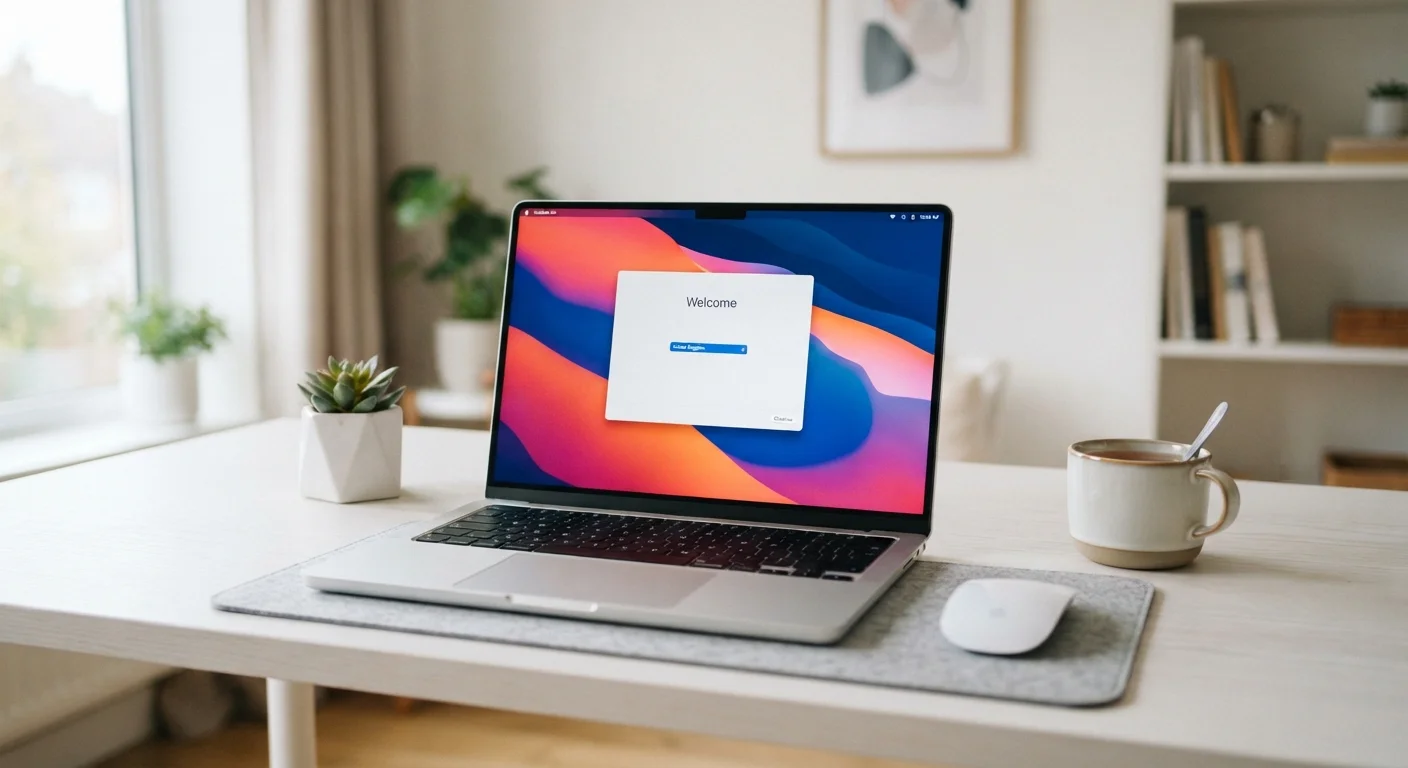
What to Expect From the macOS Setup Process
Apple designs the out-of-box experience to be guided and relatively straightforward - Setup Assistant walks you through most of the critical decisions step by step. That said, several prompts involve choices that have real consequences for your privacy, security, and data, so it's worth understanding what you're agreeing to rather than clicking through quickly.
The full process - from first boot to a personalized, secure, and updated desktop - typically takes between 20 and 45 minutes, depending on internet speed and how many updates are waiting. If you're migrating data from another computer, add extra time for that transfer.
If you're also setting up other Apple devices alongside your new Mac, our guide to getting started with your first smartphone covers the parallel process on iOS.
What you will need
Apple ID
Authenticates you across iCloud, the App Store, iMessage, and FaceTime - the single account that ties Apple services together.
Wi-Fi credentials
Required during Setup Assistant to activate your Mac, download updates, and sign in to Apple services.
Migration Assistant (built-in app)
Transfers data, settings, and apps from an existing Mac or Windows PC to your new machine.
Time Machine-compatible external drive
Used to create automatic, ongoing backups of your Mac once setup is complete.
Step-by-Step Setup Instructions
Follow these steps in order. The first five should be completed before you start downloading apps or moving files - they establish the security foundation everything else builds on.
Power on and connect to Wi-Fi
Press the power button and wait for the Setup Assistant to launch - this happens automatically on a brand-new Mac. When prompted, select your Wi-Fi network and enter the password. An internet connection is required to activate macOS and verify your Apple ID.
Sign in with your Apple ID
When Setup Assistant prompts you, enter your Apple ID email and password. If you don't have one yet, choose Create Apple ID - it's free and takes about two minutes. Signing in here activates iCloud, the App Store, iMessage, and FaceTime automatically.
You'll also be asked to set up Two-Factor Authentication (2FA) if it isn't already enabled on your account. This adds a second verification step - typically a code sent to a trusted device or phone number - and is strongly recommended.
Configure iCloud and choose what to sync
After signing in, macOS will ask which iCloud features to enable - Desktop & Documents syncing, Photos, Contacts, Calendars, and more. You can enable or disable each individually. If you have limited iCloud storage (the free tier is 5 GB), be selective about what you sync now; you can adjust this anytime in System Settings > Apple ID > iCloud.
Set up Touch ID and your login password
On Macs with a Touch ID sensor (most modern MacBooks and the Magic Keyboard for desktop Macs), Setup Assistant will prompt you to register a fingerprint. This lets you unlock your Mac, approve App Store purchases, and autofill passwords without typing. Follow the on-screen prompts, lifting and repositioning your finger several times to capture a reliable reading.
Whether or not you have Touch ID, set a strong login password - this is the password you'll type at the lock screen.
Run Software Update
Once you reach the macOS desktop, go to System Settings > General > Software Update. Even a brand-new Mac can have pending updates that shipped after it was packaged. Install any available updates before doing anything else - these often include security patches that address known vulnerabilities.
Enable FileVault and the Firewall
FileVault encrypts your entire startup disk, meaning your data is unreadable to anyone who doesn't know your login password - critical if your Mac is ever lost or stolen. Enable it at System Settings > Privacy & Security > FileVault. The encryption process runs in the background and takes a few hours on a full drive.
Also turn on the Firewall at System Settings > Network > Firewall. This blocks unauthorized incoming network connections without affecting your normal browsing or app use.
Explore System Settings and personalize your Mac
Now that security basics are covered, take a few minutes to adjust settings to your preference. Common areas to visit:
- Displays - adjust resolution and brightness to your comfort
- Accessibility - larger text, pointer size, zoom features
- Notifications - control which apps can interrupt you
- Battery (MacBooks) - review energy-saving and Low Power Mode options
The more familiar you get with System Settings, the more control you'll have over how your Mac behaves day to day.
Switching From Windows? Migration Assistant Helps
If you're moving from a Windows PC, Apple's Migration Assistant (found in Applications > Utilities) can transfer documents, contacts, calendar data, and some settings over your local network or via a USB cable. It won't transfer Windows-only programs, but it significantly reduces the manual work of starting fresh. For a deeper look at how the two platforms differ day to day, see our practical comparison of Windows and macOS.
Back Up Before You Add Anything
Once your Mac is set up, connect an external hard drive and enable Time Machine under System Settings. Time Machine creates automatic hourly, daily, and weekly backups - so if something goes wrong during future updates or app installs, you can restore to a known good state. Starting backups early means you never lose work you haven't yet saved elsewhere.
After Setup: A Few Things Worth Doing Early
Once the essentials are in place, a handful of additional steps will make your Mac meaningfully more useful and secure from day one.
Learn the core keyboard shortcuts
macOS uses the Command (⌘) key where Windows uses Ctrl - so ⌘ + C copies, ⌘ + V pastes, and ⌘ + Z undoes. Getting comfortable with these early eliminates a major friction point for Windows switchers. Our guide to keyboard shortcuts that save meaningful time covers both platforms side by side.
Review privacy permissions
Go to System Settings > Privacy & Security to see which apps have requested access to your camera, microphone, location, and contacts. Revoke anything that doesn't need it. macOS will also prompt for these permissions the first time each app requests them - read those prompts rather than dismissing them automatically.
Explore the App Store
The built-in App Store (in your Dock or Applications folder) is the safest place to download macOS software - Apple reviews apps before listing them. You can also install apps directly from developer websites, but stick to sources you trust and verify downloads when prompted by Gatekeeper, macOS's built-in security layer.
If you're also setting up a new Windows machine in your household, our Windows PC setup walkthrough follows the same security-first approach for that platform.
Don't Skip the Apple ID Recovery Options
During Apple ID setup, you'll be asked to add a recovery phone number or email address. These are the only ways to regain access if you're ever locked out. Skipping this step can make account recovery extremely difficult. Take the extra two minutes to add and verify at least one recovery method.