Why Most Travelers Overpack (And How to Break the Cycle)
Overpacking is rarely about vanity - it's usually about anxiety. When we're unsure what a trip will demand, we hedge by bringing more. The result: a heavy bag, wrinkled clothes, and a week of outfit stress that could have been avoided with a bit of upfront planning.
The good news is that packing light is a skill, not a personality trait. It gets easier every time you practice it, especially once you experience the freedom of breezing through an airport with a single carry-on. The styling habits that make getting dressed easier at home translate directly to travel - and building those habits year-round means your travel wardrobe almost assembles itself.
What you will need
Here's what the step-by-step process looks like in practice.
How to Pack Light Without Running Out of Outfits
Plan Around Your Actual Itinerary
Before selecting a single item, write down your specific activities: dinners, outdoor excursions, workdays, or beach time. Packing for a vague 'five-day trip' leads to overpacking; packing for five defined occasions leads to a bag you can actually lift. Real-trip planning is the single biggest factor separating smart packers from overpacked ones.
Packing Cubes
Compress clothing into organized compartments, maximizing usable space inside your bag.
Travel-Size Laundry Detergent Sheets
Allow you to hand-wash items mid-trip, reducing the total number of pieces you need to bring.
Wrinkle-Release Spray
Refreshes and de-wrinkles packed clothes quickly without needing an iron or steamer.
Flat Lay Surface
A bed or clean floor space where you can visualize and edit your full packing selection before loading the bag.
Write Out Your Itinerary by Day and Occasion
Open a notes app or grab a piece of paper and list each day of travel with the main activity or occasion. Be specific: Day 1 - travel day and casual dinner, Day 2 - hiking and evening drinks, Day 3 - city sightseeing. This becomes your packing blueprint, grounding every clothing decision in reality rather than anxiety.
Choose a Three- or Four-Color Palette
Select a base of two neutral colors (think navy, white, black, tan, or olive) and one or two accent colors you genuinely enjoy wearing. Every piece you pack should fit within this palette. When everything works together tonally, every top pairs with every bottom - your outfit count multiplies without your bag getting heavier.
Select Pieces That Transition Across Occasions
For each slot in your packing list, ask: Can this piece work for at least two different settings? A linen button-down works as a beach cover-up and a casual dinner top. Dark trousers move from a daytime museum visit to an evening meal. Prioritize fabric and silhouette over novelty - versatility almost always beats statement pieces when you're working from a single bag.
Apply the Shoes Rule: Maximum Three Pairs
Shoes are the heaviest, bulkiest items in most bags. Aim for three pairs that collectively cover all your planned occasions: one comfortable walking shoe, one elevated option (a loafer, a low heel, a clean sneaker), and one activity-specific shoe if genuinely needed (a sandal, a hiking boot). Wear the bulkiest pair on travel days to keep bag weight down.
Add Accessories to Create Outfit Variety
Scarves, belts, a watch, simple jewelry, and a hat weigh almost nothing but visually transform an outfit. A single white tee looks completely different tucked into trousers with a belt versus worn loose with joggers and a cap. Pack two or three accessories intentionally chosen to work across multiple outfits rather than grabbing a handful and hoping for the best.
Do a Full Flat-Lay Edit Before Packing
Lay every selected piece on your bed and do a final audit. Check that each item pairs with at least two others and that no occasion in your itinerary is uncovered. Remove anything that only works with one other piece unless it solves a unique need. This edit step is where most overpacking gets caught before it reaches the bag.
Pack Using the Roll-and-Layer Method
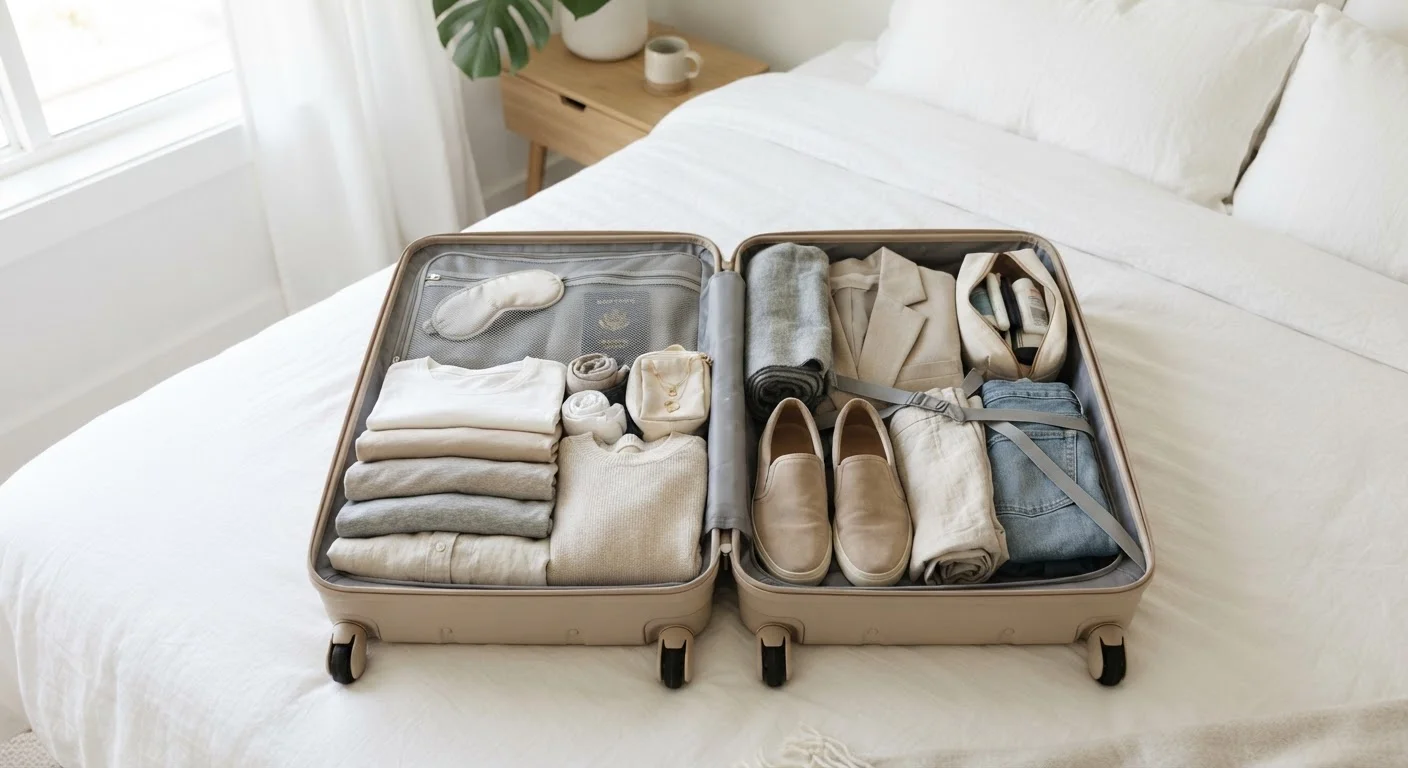
Roll softer items like t-shirts, jeans, and casual tops tightly to reduce bulk and minimize wrinkles. Lay structured pieces - blazers, dresses - flat on top or fold them using a tissue-paper sandwich technique to prevent creasing. Use packing cubes to separate categories (tops, bottoms, undergarments) and keep the bag organized throughout the trip, not just at departure.
The 'Outfit Math' Trick
Before zipping your bag, lay every piece flat and mentally pair each top with each bottom. Aim for at least two viable combinations per top. If a piece only works with one other item in the bag, it may not earn its spot - unless it's solving a very specific occasion gap.
Avoid Packing 'Just in Case' Pieces
The single biggest culprit behind bloated luggage is the 'just in case' mindset - adding a dress for a fancy event that may not happen or a third pair of shoes for an activity you haven't confirmed. Stick to your written itinerary and resist hypothetical packing. Most destinations have stores if a genuine emergency arises.
Once your bag is packed using these steps, notice how the anxiety of did I bring enough? largely disappears. When every piece works with every other piece, you're not locked into pre-planned outfits - you're free to mix as the mood or weather shifts.
This approach also has a financial upside: traveling with what you own rather than buying trip-specific pieces keeps costs in check. For more on making your wardrobe work harder across contexts, see our piece on making one wardrobe do double duty, and if you're thinking about how your personal style holds up across different settings, building a style that travels well is worth a read before your next trip.