Why Brush Hygiene Matters More Than You Think
Your makeup brushes are in direct contact with your skin every single day, which means they accumulate product buildup, oils, and bacteria surprisingly quickly. Beyond the skin-health angle, dirty bristles also affect your results - muddy pigment from a previously used eye brush makes colors look dull, while product-clogged foundation brushes streak instead of blend. If you're still figuring out which brushes belong in your kit, our guide to makeup brush types and uses is a great starting point.
Dirty Brushes and Skin Health
Makeup brushes pick up dead skin cells, natural skin oils, and environmental debris with every use. Left unwashed, they become a breeding environment for bacteria. While brush hygiene alone won't resolve active skin conditions, dermatologists broadly agree that clean tools are an important baseline habit. If you're experiencing persistent breakouts, consult a qualified skincare professional.
How often you clean depends on use. A general guide:
- Foundation and concealer brushes: Once a week
- Eye brushes: After every use if possible; at minimum twice a week
- Powder, blush, and bronzer brushes: Every one to two weeks
- Lip brushes: After every use, since lipstick transfers easily
These aren't rigid rules, but they give your routine a sensible rhythm. When in doubt, if a brush looks discolored or feels stiff, it's time for a wash.
Step-by-Step: How to Wash Your Brushes
The process itself is simple once you understand the one non-negotiable: water goes down, never up into the ferrule. Gather your tools before you start so the process is smooth.
What you will need
Gentle liquid soap or brush cleanser
Breaks down makeup pigment, oils, and bacteria without stripping or stiffening bristles.
Silicone cleaning mat or textured glove
Provides a ridged surface that dislodges product buildup faster than using your palm alone.
Clean lint-free towel
Used to gently press out excess water and reshape bristles before drying.
Brush guard or hair tie
Holds bristles in their original shape while the brush dries flat.
Wet the bristles with lukewarm water
Hold the brush with the bristles pointing downward under a gentle stream of lukewarm water. Wet only the bristle section - avoid soaking the ferrule (the metal band that joins bristles to handle). Water that seeps into the ferrule dissolves the adhesive over time, causing shedding.
Work a small amount of cleanser into the bristles
Dispense a pea-sized amount of cleanser into your palm or onto a silicone cleaning mat. Swirl the damp brush in gentle circular motions, working up a lather. You'll see makeup pigment release almost immediately. For heavily loaded brushes - think full-coverage foundation tools - you may need a second round of cleanser.
Rinse thoroughly until water runs clear
Keep the bristles pointing downward and rinse under running water, gently squeezing from the ferrule toward the tips. Residual soap left in bristles can make them stiff, scratchy, and more likely to irritate skin. Keep rinsing until the water at the bristle tips is completely clear.
Gently press out excess water and reshape
Lightly squeeze the bristles between your fingers or press them against a clean towel - never twist or pull. Then use your fingers to gently coax the bristles back into their original shape: fan brushes should fan, flat brushes should stay flat, tapered brushes should come to a point.
Lay brushes flat to dry completely
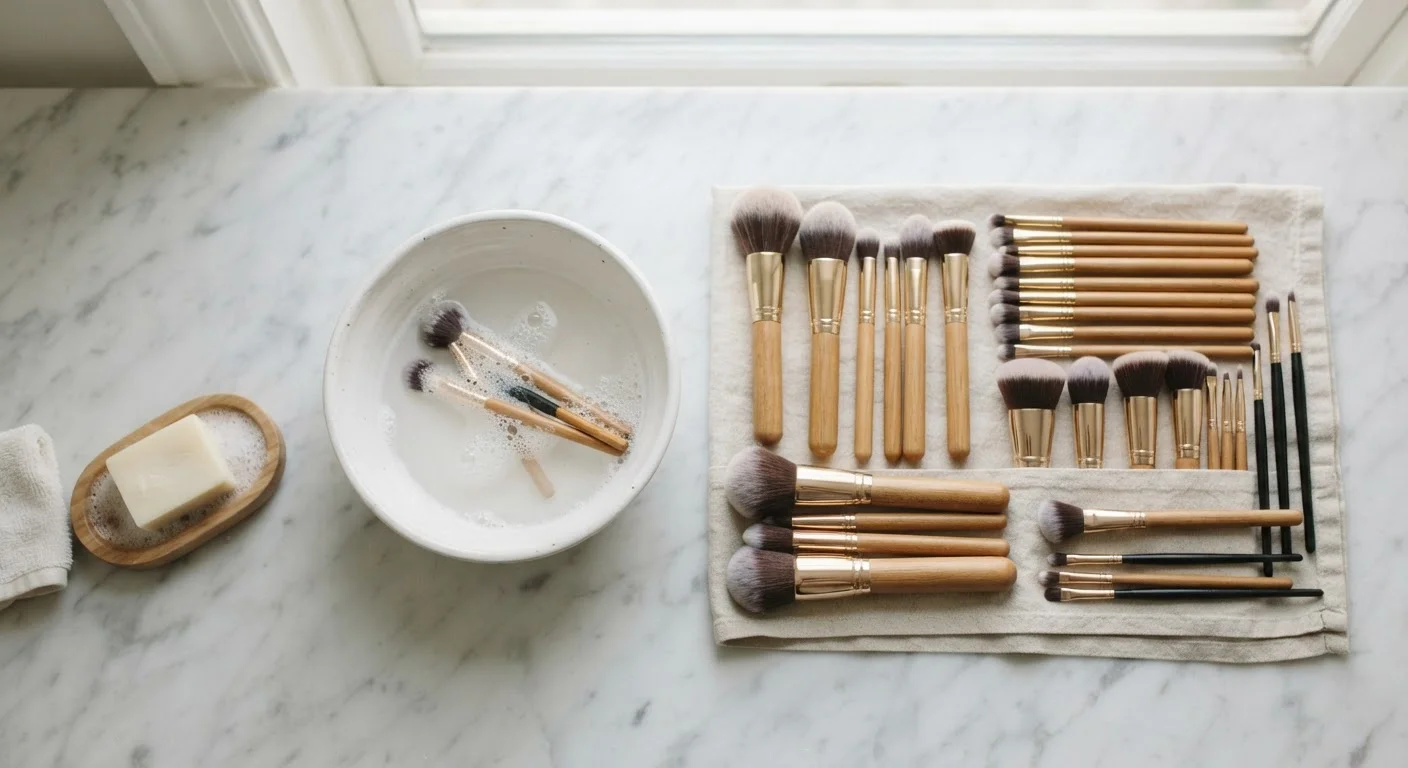
Arrange cleaned brushes on a dry towel with the bristles hanging slightly off the edge of a counter, or lay them on the towel at a very slight downward angle. This lets air circulate all around the bristles. Never stand brushes upright in a cup while wet - water pools at the ferrule and speeds up adhesive breakdown. Most brushes air-dry fully in 4-8 hours; denser kabuki styles may need overnight.
Quick-Clean Between Full Washes
For days when you need a brush clean fast, a quick spritz of isopropyl-alcohol-based spot cleaner on the bristles followed by a swipe on a dry cloth removes surface pigment in seconds. This isn't a substitute for a full soap wash, but it keeps cross-contamination in check between your weekly deep clean.
Troubleshooting and Long-Term Care
Even with regular washing, bristles can eventually splay, shed, or stiffen. A few habits extend brush life significantly:
- Store brushes upright in a cup or roll when dry - never loose in a bag where bristles get crushed.
- Don't share brushes, especially eye and lip tools, to minimize bacteria transfer between people.
- Replace brushes when bristles splay beyond reshaping or when shedding becomes noticeable mid-application - no amount of washing fixes a structurally worn brush.
Don't Rush the Drying Step
Using a brush before it's fully dry is one of the most common ways to transfer bacteria right back onto your skin. Damp bristles also deposit product unevenly, so your makeup application suffers too. Build brush-cleaning nights into your routine so drying time is never an issue.
Clean brushes do more than protect your skin - they make every product perform as intended. If you've been frustrated by mascara that smudges or creases, it's worth reading our piece on why mascara smudges and how to fix it, since tool cleanliness is one piece of that puzzle too.
This article is for general informational purposes only and does not constitute medical or dermatological advice. If you have persistent skin concerns, please consult a qualified healthcare professional.