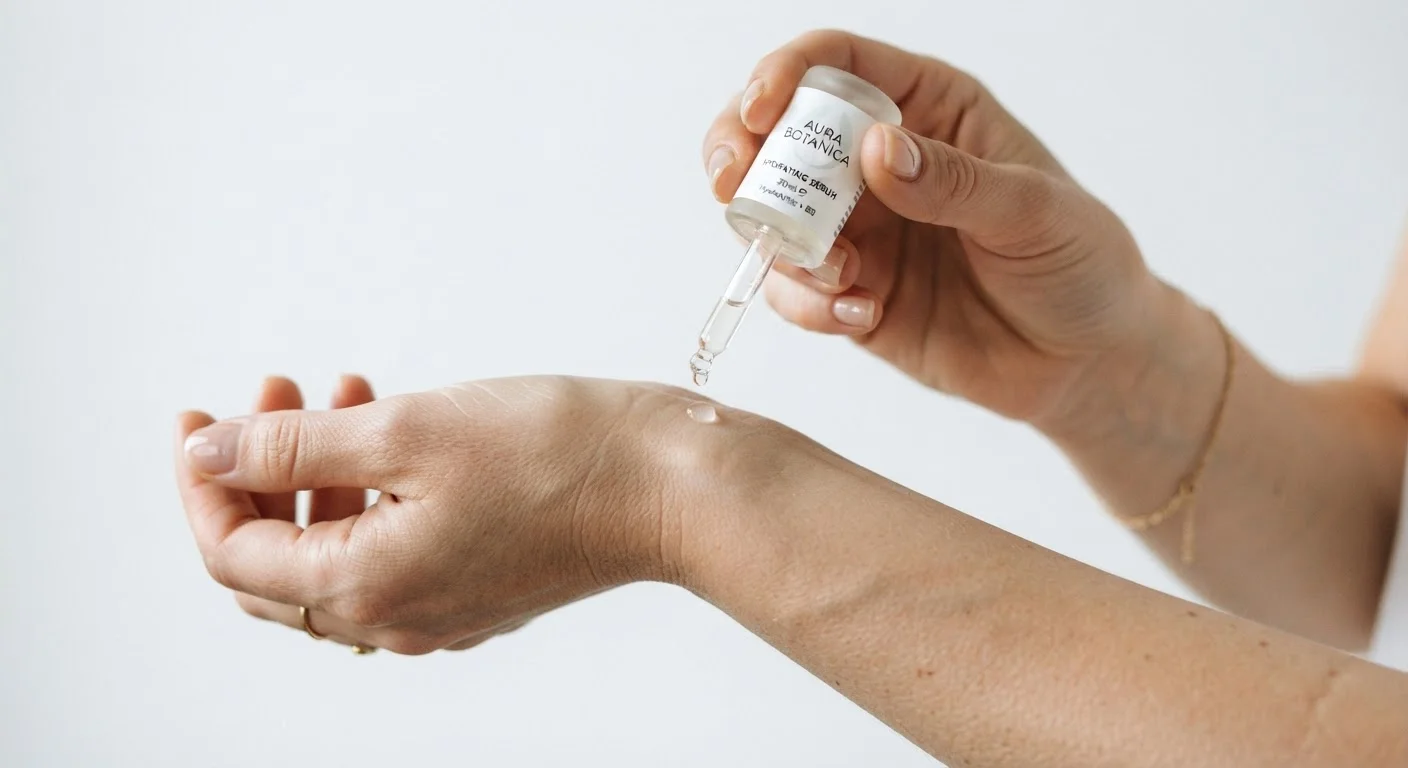
Why Patch Testing Is Worth Every Minute
A new skincare product can feel exciting - and it absolutely should. But introducing an untested formula directly to your face is one of the most common ways people end up with redness, breakouts, or a compromised skin barrier. Patch testing is the beauty world's version of a trial run: low effort, high payoff.
Even products marketed as "gentle" or "clean" can contain ingredients that don't agree with a specific skin type. Fragrances, preservatives, and certain actives are frequent culprits. Rather than discovering this across your entire complexion, a small, controlled test on a discreet area gives you advance warning.
If you're building or refreshing your routine, the checklist below works alongside a full skincare routine audit to make sure every product earns its place safely. Think of patch testing as the last quality check before anything new joins the lineup.
Clean cotton swab or fingertip
Used to apply a precise, small amount of product to the test area without contaminating the rest of the formula.
Gentle, fragrance-free cleanser
Used to prep the patch-test area before testing and to cleanse if a reaction occurs.
Ingredient-checking app or website
Helps you quickly scan an ingredient list for known irritants or allergens before you begin.
Phone or notebook for logging
Lets you record the date, time, product name, and any observations throughout the testing window.
The Patch-Testing Checklist
Work through these items in order. Each group covers a distinct phase of the process - preparation, application, observation, and your next steps.
Preparation
Application
Observation
Next Steps
Don't Skip the Wait - Even If It Looks Fine
A clean 30-minute check doesn't mean the product is safe for your skin. Many reactions - particularly to fragrances and preservatives - develop slowly over 24 to 48 hours. Rushing straight to full-face use after a short check is one of the most common patch-testing mistakes. Build the wait time into your plan before you even open the product.
Testing One Product at a Time Matters
If you introduce several new products simultaneously and a reaction occurs, you won't be able to pinpoint the cause. Always test new additions one at a time, with at least a day between introducing each new formula. This is especially important when building a new routine from scratch.
Special Considerations for Active Ingredients
Standard patch testing is suitable for most moisturizers, cleansers, and toners. But potent actives - retinoids, AHAs, BHAs, vitamin C, and exfoliating enzymes - call for a little extra patience. These ingredients are designed to change how skin behaves, which means the observation window should extend to 48-72 hours and ideally involve a low-frequency trial on the face (once every few days) before daily use.
Introducing actives too fast is one of the most common ways people damage their skin barrier without realizing it. Patch testing is your first safeguard; pacing your introduction is the second.
It's also worth noting: if you're testing multiple new products at once, test them on separate skin areas on separate days. Overlapping tests make it impossible to identify which product caused a reaction. A multi-step routine built thoughtfully, one product at a time, is far easier to troubleshoot than one assembled all at once.
This article is for general informational and educational purposes only. If you experience a severe allergic reaction - including significant swelling, difficulty breathing, or widespread hives - seek medical attention immediately. Consult a dermatologist or qualified healthcare professional for personalized advice about your skin concerns.