Why Sequence and Surface Prep Define the Outcome
A tile backsplash is one of the more approachable intermediate DIY projects, but it has a consistent failure point: most problems - loose tiles, cracked grout, moisture intrusion - originate in skipped preparation steps or out-of-order execution. The tile and grout themselves are rarely at fault. Getting the sequence right matters more than any single material choice.
This is especially relevant if your backsplash is part of a larger kitchen or bathroom update. If you're mid-renovation, see the broader context in our guide on planning a kitchen renovation - coordinating trades and sequencing work correctly can save significant rework. Similarly, if you're evaluating whether a backsplash swap alone can refresh a bathroom without a full gut job, bathroom remodel vs. refresh offers a useful framework.
What you will need
Notched trowel (V-notch or square-notch)
Applies and combs thinset mortar at a consistent depth for proper tile adhesion.
Tile spacers
Maintains uniform grout joint width across the entire installation.
Rubber grout float
Spreads and packs grout into joints without scratching tile surfaces.
Tile wet saw or snap cutter
Makes precise cuts for edge pieces and around outlets.
Level and chalk line
Establishes a true horizontal reference line before setting the first row of tile.
Grout sealer
Protects finished grout joints from moisture and staining after full cure.
Tile backer board (cement board)
Provides a stable, moisture-resistant substrate in high-humidity areas.
Is This Project Right for You to DIY?
Standard backsplash installation - subway tile, mosaic sheets, or small-format ceramic - is well within reach for a patient DIYer with a weekend and the right tools. The work is methodical rather than highly skilled. That said, some installations carry added complexity: large-format tile (12×24 inches or larger), heated substrates, natural stone requiring sealing, or walls with significant moisture exposure behind them.
If you're unsure where your project falls, our article on DIY vs. professional installation provides a structured way to assess skill level, risk, and when a licensed tile setter adds genuine value beyond convenience.
Painted or Glossy Surfaces Need Mechanical Abrasion
Thinset will not bond reliably to glossy painted drywall or existing tile without mechanical abrasion. Sanding or scarifying the surface is not optional - it is the difference between a backsplash that lasts years and one that peels within months. If the existing surface is in poor condition, removing it entirely is often the safer choice.
Assess and Prepare the Substrate
The substrate - the wall surface behind your tile - must be clean, flat, and structurally sound. Press on drywall to check for soft spots; probe for water damage or mold before proceeding. In kitchen areas, degrease the wall thoroughly. In bathroom applications, consider whether standard drywall should be replaced with cement board or a moisture-resistant backer for long-term durability.
Fill any holes or gouges with joint compound, let it dry completely, and sand flush. The surface must be within 1/8 inch of flat over a 10-foot span - larger deviations require skim-coating with thinset.
Establish Your Layout Lines
Use a level to mark a true horizontal reference line at the height of your lowest full tile row. Snap a chalk line across the wall at this mark. Next, find the horizontal center of the installation area and snap a vertical chalk line. These two lines form your layout grid and are the reference for every tile placement that follows.
Do not assume the countertop or existing trim is level - it almost never is.
Dry-Lay the Pattern Before Mixing Adhesive
Lay your tile out on a flat surface - or hold pieces against the wall with temporary tape - following your intended pattern. This reveals how cut pieces will fall at the edges, whether any row will end with a sliver of tile (generally less than half a tile width looks poor), and whether your grout line spacing is consistent. Adjust your center point if needed.
This step costs nothing and prevents irreversible mistakes once adhesive is involved.
Mix and Apply Thinset Mortar
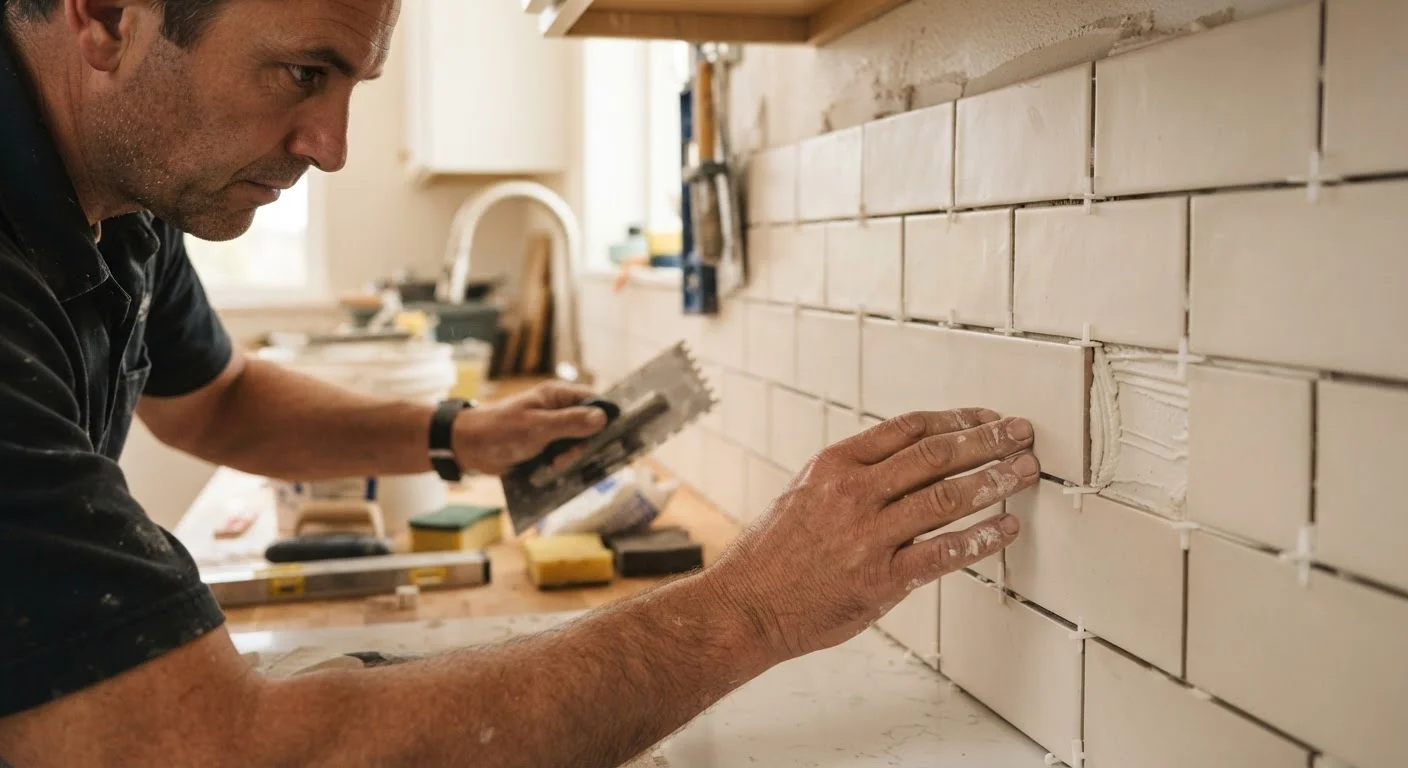
Mix thinset to a smooth, peanut-butter consistency - it should hold a notch without slumping. Using your notched trowel, spread thinset over a small working section (roughly two to three square feet at a time) and comb it at a consistent angle. Back-butter each tile by applying a thin skim coat to the tile back as well, particularly for large-format or natural stone tiles.
Press each tile firmly into place with a slight twist, then check it against your layout lines and the adjacent tiles with a level.
Set Tiles, Insert Spacers, and Cut Edge Pieces
Place tile spacers at each corner as you go. Use a rubber mallet or a grout float tapped gently to seat tiles evenly. Periodically pull a placed tile back and inspect the mortar coverage on the back - you're aiming for 90-95% contact. Less than that indicates inadequate thinset or the wrong notch size.
Mark and cut edge tiles using a wet saw for straight cuts and a tile nipper or angle grinder for curves around outlets. Always wear eye protection when cutting tile.
Allow Full Cure Before Grouting
Once all tiles are set, remove spacers and allow the thinset to cure fully - a minimum of 24 hours for most polymer-modified thinsets, and up to 48-72 hours in cool or humid conditions. Do not apply grout prematurely. Check the thinset manufacturer's datasheet for exact cure times. Recurring grout cracks are frequently traceable to inadequate cure time; see our article on why grout cracks keep coming back for a deeper look at this failure pattern.
Apply Grout and Clean the Surface
Mix unsanded grout for joints 1/8 inch or narrower; use sanded grout for wider joints. Hold the rubber float at a 45-degree angle and work grout diagonally across the joints, pressing firmly to pack them fully. Remove excess from the tile face in the same diagonal motion.
Wait until a light haze forms on the tile surface (typically 15-30 minutes), then wipe with a damp - not wet - sponge in circular motions, rinsing frequently. Buff the remaining haze with a dry cloth. At inside corners and where the tile meets the countertop, use flexible sanded caulk in a matching color rather than grout.
Do Not Skip the Cure Time
Applying grout before tile adhesive (thinset mortar) has fully cured is one of the most common causes of backsplash failure. Movement in uncured adhesive can crack grout lines within weeks. Always follow the manufacturer's stated cure time - typically 24 hours, but longer in humid or cold conditions.
Start Your Layout From the Center, Not the Corner
Walls are rarely perfectly square. Beginning your tile layout from the visual center of the installation area - rather than a corner - ensures that any cut pieces are distributed symmetrically at the edges. This is especially important when using patterned or large-format tile where asymmetry is immediately visible.
After Grouting: Sealing and Long-Term Maintenance
Allow grout to cure for a minimum of 72 hours before applying a penetrating grout sealer - longer if the manufacturer specifies it. Sealing is especially important for light-colored grout in kitchen applications where cooking grease and food splatter are constant. Natural stone tile should be sealed before grouting and again after, using a product rated for the specific stone type.
Once sealed, backsplash maintenance is straightforward: wipe with a damp cloth and a pH-neutral cleaner. Avoid abrasive scrubbers and acidic cleaners (including many common bathroom products), which degrade grout over time. Inspect caulk lines at the counter edge annually - recaulking as needed is far simpler than addressing a water-damaged substrate.
This article is for general informational and educational purposes. Always verify local building codes and consult a licensed professional for work involving permits, structural elements, or hazardous conditions.