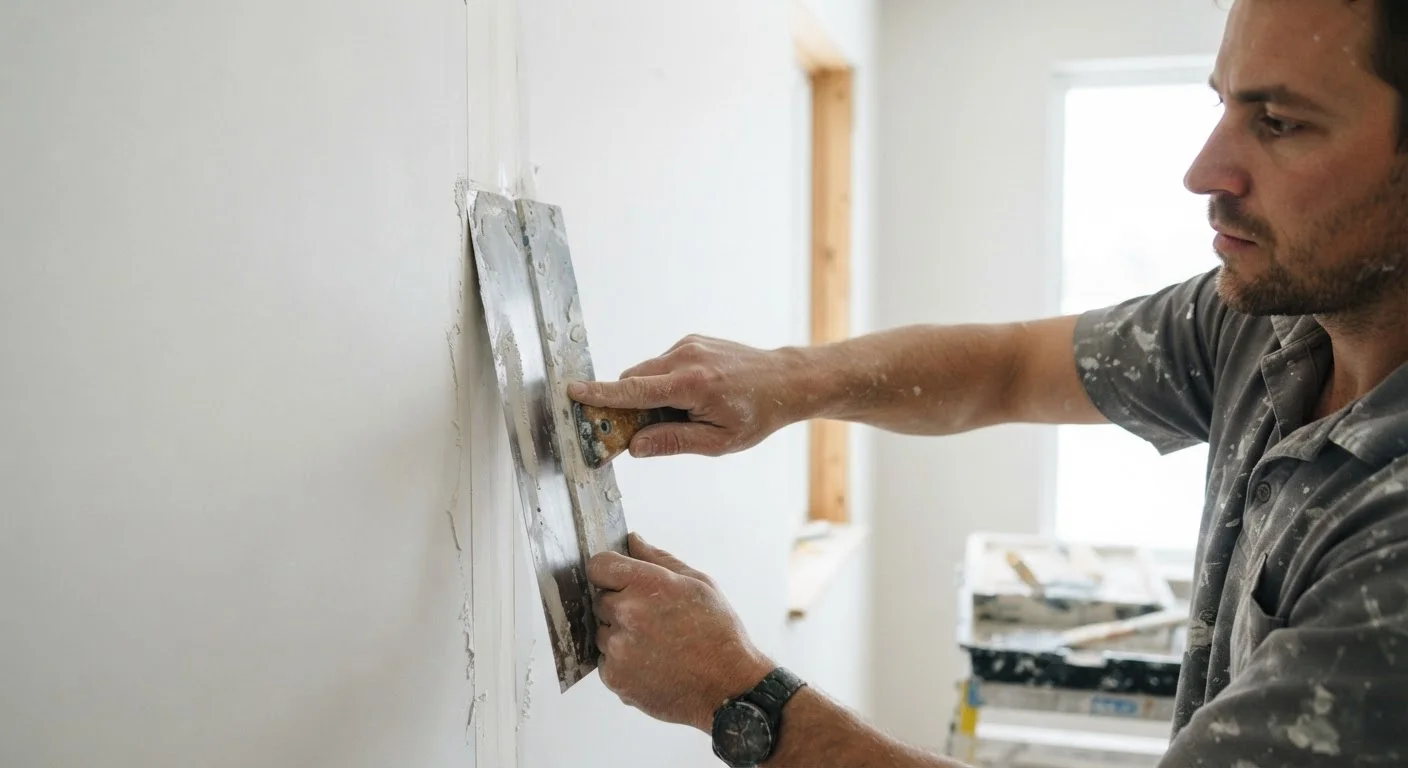
What Are Drywall Finish Levels?
The drywall industry recognizes six standardized finish levels - numbered 0 through 5 - established by a joint standard from the Gypsum Association (GA-214) and the major trade associations. Each level describes a specific degree of surface preparation, from bare board to a paint-ready skim coat. Knowing which level is required for a given application helps homeowners communicate clearly with contractors, budget accurately, and avoid costly rework.
The level appropriate for any room depends on the final finish, the lighting conditions, and how the space will be used. Highly raked or indirect lighting exposes surface imperfections that would be invisible under diffuse overhead light - a key reason why finish level expectations must be set before taping and mudding begin.
| Standard-setting bodies | Gypsum Association (GA-214), AWCI, CISCA, PDCA, TAUC (GA-214 joint standard) |
| Number of recognized levels | 6 (Levels 0-5) (Gypsum Association GA-214) |
| Standard residential finish level | Level 4 (Industry convention) |
| Required for gloss or semi-gloss paint | Level 5 (GA-214 specification) |
| Appropriate for tiled surfaces | Level 2 (GA-214 specification) |
| Level 5 distinguishing feature | Full skim coat over entire board surface |
For guidance on how finish level decisions interact with paint sheen choices, see our reference on interior paint finishes - the two decisions are closely linked.
Levels 0 Through 5: What Each One Means
Level 0 - No taping, finishing, or compounds applied. Used on temporary construction or in areas where final decoration has not yet been determined. Essentially, this is raw board.
Level 1 - All joints and angles receive a single coat of joint compound, with tape embedded. Fastener heads do not need to be covered. Appropriate for plenum areas above suspended ceilings, attic spaces, and service corridors where the surface is not visible in normal use.
Level 2 - All tape is embedded and one additional coat of compound is applied over tape, angles, and fasteners. Surfaces are smooth enough to receive a water-resistant membrane or tile backer. Used in garages, warehouses, or areas that will be tiled - not intended as a substrate for paint.
Level 3 - Two coats of compound over all tape and angles; fasteners receive two coats as well. Surface is sanded or sponged smooth. Suitable for heavy or medium wall-texture applications, and for spaces that will receive heavy-grade wall coverings. Not recommended as a base for flat or low-sheen paints without texture.
Level 4 - Three coats of compound over all tape and angles, fasteners receive three coats. This is the standard residential finish level intended for most painted walls and ceilings receiving flat or low-sheen paint. It is not suitable for gloss, semi-gloss, or enamel paint, or for areas subject to strong raking light without an additional skim coat.
Level 5 - All the work of Level 4, plus a thin skim coat of joint compound or compound-based material applied over the entire surface. This is the highest quality finish and is specified wherever critical lighting conditions, high-sheen paints, or premium construction standards are required. It is the only level appropriate under semi-gloss or gloss paint in rooms with significant natural sidelight.
Joint compound
A plaster-like material (also called 'mud') used to embed tape, fill fastener dimples, and build up smooth coats over drywall seams. It is applied in multiple thin coats and sanded between applications.
Skim coat
A very thin, uniform layer of joint compound or finish plaster applied over an entire wall surface. It is the defining step of Level 5 and eliminates even minor surface variations.
Raking light
Light that strikes a wall at a low, oblique angle - such as sunlight through a side window. Raking light dramatically reveals surface irregularities invisible under diffuse overhead lighting.
Tape embedding
The process of pressing drywall tape into a wet base coat of joint compound over a seam. Proper embedding is critical to preventing tape blistering, cracking, or lifting over time.
Fastener dimple
The slight indentation left when a drywall screw is driven just below the board surface. Dimples must be filled with compound at higher finish levels to prevent them from telegraphing through paint.
Choosing the right level early prevents expensive remediation later. If your project involves careful decisions about what to DIY versus hire out, our framework on DIY vs. professional installation can help you assess realistically.
Choosing the Right Level for Your Project
Most standard residential rooms - bedrooms, living rooms, hallways - are finished to Level 4. Level 5 is worth the added cost in rooms with large windows or where high-sheen paints are planned. For areas that will be tiled (showers, backsplashes), Level 2 is often all that code or manufacturer specifications require.
Lighting Conditions Change Everything
A surface that looks smooth under a general overhead fixture may show waves and ridges when sunlight hits it from a side window. If a room has large windows or architectural accent lighting, consider specifying Level 5 even if Level 4 would otherwise suffice. Discuss lighting layout with your contractor before finalizing the finish specification.
Drywall finish level also affects what insulation work should already be complete before boarding begins. See our companion reference on insulation types and R-values if you are managing a broader renovation scope.
This article provides general home improvement information for educational purposes. Consult a licensed contractor or building professional for guidance specific to your project, local codes, and permit requirements.