Why Lure Dependency Develops
Food lures work because dogs follow movement, and a treat near the nose is a powerful motion guide. The problem isn't using a lure - it's a natural and effective way to teach a new behavior. The problem is leaving the lure in place after the dog understands the behavior. When food is present every time before the cue, the dog learns a simple rule: food appears, then I move. Remove the food, and the cue loses its meaning.
Understanding this dynamic is grounded in basic learning science. Dogs learn by associating events - if the sight of food in your hand consistently precedes a behavior, the food becomes part of the cue itself. Our overview of how dogs actually learn covers these principles in more depth. The fix isn't willpower or corrections - it's restructuring what signals the behavior.
Lures and Bribes Are Not the Same Thing
A lure is food used to guide a dog into a behavior during the initial learning phase - it's shown before the behavior occurs. A bribe is food offered to a dog that has already refused a known cue. Continuing to show food before asking for a behavior the dog already knows turns a teaching tool into a bribe, and that's the core habit this article helps you break.
It's also worth distinguishing treat dependency from a separate issue: a dog that stops responding to treats mid-session. That's a motivation problem, not a lure-fading problem, and it calls for a different approach.
The Fading Process: What to Expect
Fading a lure isn't a single event - it's a sequence of small changes, each one shifting what the dog is actually responding to. The steps below walk through that progression in order. Most dogs with solid foundational training can move through the full process within one to three weeks of consistent short sessions.
What you will need
You'll need the right equipment to make fading work cleanly.
Treat pouch or pocket
Keeps rewards hidden and accessible so food is not visible before the cue is given.
Clicker or verbal marker
Precisely marks the moment the correct behavior occurs, bridging the gap between the behavior and the reward delivery.
Small, soft treats
High-value rewards delivered after the behavior to reinforce the cue-response pattern.
Training log or notes app
Tracks which step of the fading process you're on and notes where the dog succeeds or struggles.
Confirm the behavior is fluent with the lure
Before fading anything, the dog must perform the behavior reliably - meaning 8 out of 10 correct responses - when the lure is present. If success rates are lower, the behavior itself needs more repetition before you modify the prompt. Attempting to fade a lure before the behavior is learned is the most common reason fading fails.
Move the treat to your other hand
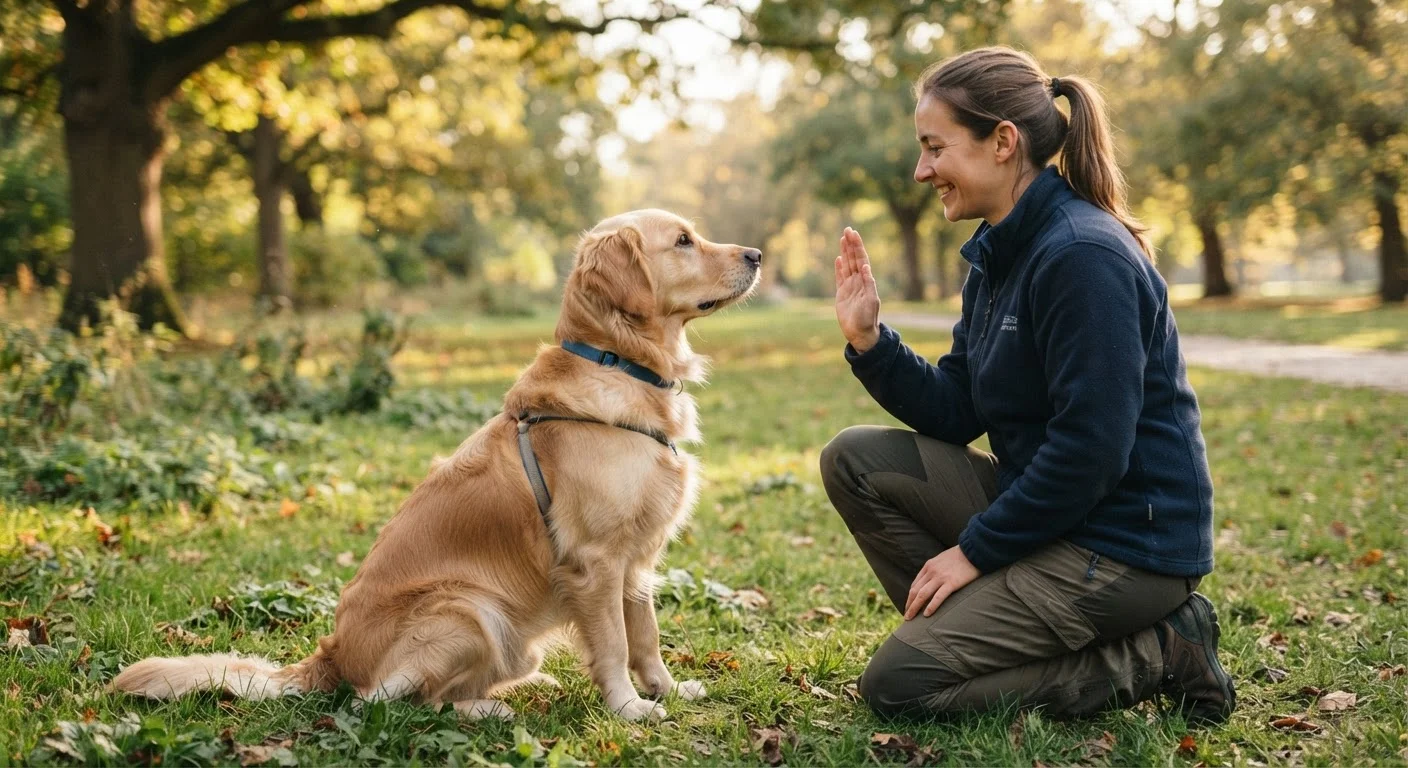
Hold food in your non-cueing hand and keep that hand at your side or behind your back. Use your empty cueing hand to give the same lure gesture you've been using. When the dog completes the behavior, mark immediately and deliver the treat from the other hand. The dog is now learning that the gesture predicts a reward - even when the gesture hand is empty.
Shrink the gesture progressively
Over multiple sessions, reduce the size and exaggeration of your hand signal. A full lure for a "sit" might involve your hand sweeping up to nose height - gradually flatten it to a shorter motion, then a subtle wrist flick. Each incremental change should still achieve 80%+ success before you reduce further. The goal is a clean, minimal hand signal that the dog responds to without hesitation.
Introduce a verbal cue
Once your dog is responding consistently to a small hand signal, pair a verbal cue with it: say the word first, then follow with the hand signal. After 20-30 paired repetitions over several sessions, test the verbal cue alone. Many owners find their dog responds to hand signals far better than words early on - this step builds genuine dual-cue reliability. Good reward timing is especially important here, since the dog is learning to associate a new sound with a known behavior.
Switch to an intermittent reward schedule
Once the dog responds correctly to cue alone - without any food visible beforehand - stop rewarding every single repetition. Begin rewarding roughly every second or third correct response, varying unpredictably. This variable ratio schedule, well established in behavioral learning research, produces more persistent behavior than predictable reward patterns. The dog learns that a reward might come this time, which maintains motivation without requiring a treat in hand for every ask.
Proof the behavior across environments
A behavior trained only in your living room is not a reliable behavior - it's a living-room behavior. Systematically practice the cue in new locations: the backyard, a quiet parking lot, a park. Each new environment briefly resets difficulty, so temporarily reward more frequently when you introduce a new setting, then fade again. This process, called proofing, is what turns a trained behavior into genuine obedience. For real-world application, this step is especially relevant to skills like loose-leash walking, which must hold up across changing environments.
Use Your Marker Signal Precisely
A well-timed marker - whether a clicker or a verbal word like "yes" - tells your dog exactly which moment earned the reward, even when the treat arrives a second or two later. Sharp marker timing lets you reward from your pocket convincingly. See our guide to choosing a bridging signal for setup advice.
Throughout the process, pay attention to your dog's body language. A dog that's trying but getting frustrated - repeated attempts at wrong behaviors, disengagement, or stress signals - is telling you the current step is too large. Smaller increments and more repetitions at each stage are almost always the right adjustment. For older dogs, the same principles apply, but pace and session length may need to be adjusted; see our guidance on training senior dogs for specifics.
Don't Skip Steps Under Time Pressure
Fading too quickly - moving from a full lure to no food in one session - frequently produces frustration and regression. If your dog starts offering wrong behaviors or disengaging, that's a sign the lure was removed faster than the behavior was solidified. Slow down and go back one step.