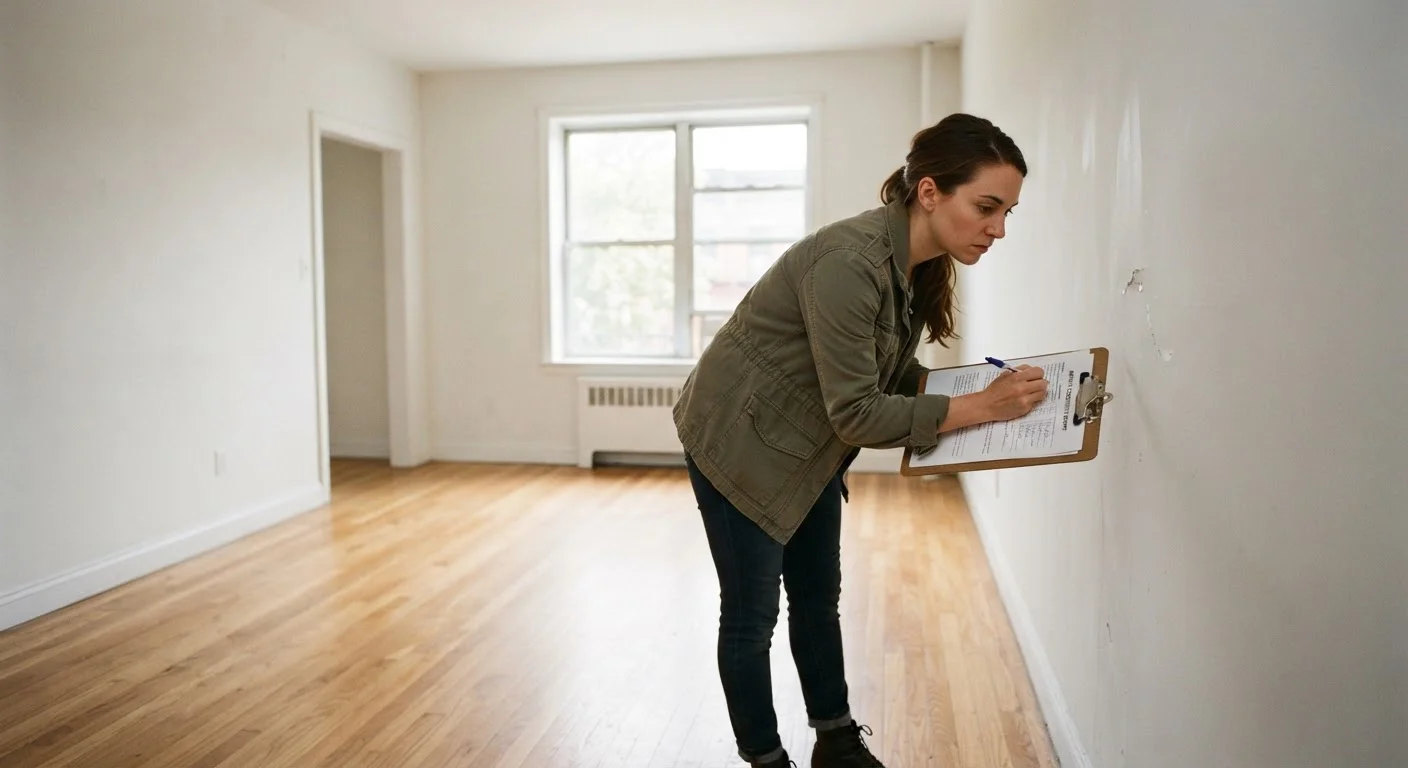
Why This Inspection Is Your Best Financial Protection
Security deposits typically equal one to two months' rent. Without a documented move-in inspection, any pre-existing scratch, stain, or broken fixture becomes your word against your landlord's when you leave. Most states allow landlords a defined window - commonly 14 to 30 days after move-out - to itemize deductions. If you haven't created a clear record of prior damage, you may lose money that was never rightfully at risk.
This checklist is designed to be completed before you unpack a single box and before you sign any move-in condition form your landlord provides. If your landlord provides their own form, use both - yours is the independent record. For a fuller picture of documentation best practices, see how to document a rental unit before moving in.
If you're navigating your very first rental, the First-Time Renter's Roadmap provides broader context for every stage leading up to this moment.
Timestamp Everything Before You Move In
Date and time metadata embedded in smartphone photos is your most powerful evidence. Ensure your phone's clock is set correctly before starting, and do not edit or filter any inspection photos - edits can strip metadata. Send the full-resolution images to your own email immediately after the walk-through so the timestamp is preserved in a third-party system.
What You Need Before You Start
Gather the following before entering the unit. Having everything on hand lets you move systematically without backtracking.
Smartphone with timestamp camera
Capture dated photos and video of every defect discovered during the walk-through.
Printed or digital checklist
Record condition ratings and written notes for each item as you move through the unit.
Phone charger or small plug-in device
Test every outlet for power without needing a dedicated outlet tester.
Flashlight or phone torch
Illuminate dark corners, under-sink cabinets, and closet interiors for thorough inspection.
Outlet tester
Quickly verify that outlets are wired correctly, detecting faults a simple plug-in cannot.
Notepad and pen
Backup written record in case of phone battery failure or photo storage issues.
Walk through the unit in a logical order - typically entry, living areas, kitchen, bathrooms, bedrooms, then utility spaces and exterior access points. Use the same order every time so nothing is skipped.
Never Sign Before You Inspect
Some landlords present a move-in condition form and ask you to sign it on the spot, sometimes before you've had time to walk through. Do not sign any condition report until you have personally inspected every room and recorded your own findings. A signature may imply you accept the unit's condition as described on that form.
The Room-by-Room Checklist
Work through each group below, noting the condition of every item. Use a simple scale: Good, Fair (minor wear), or Damaged - and describe any damage in a few words (e.g., "2-inch gouge on east wall, approx. 3 ft from floor"). Photograph each issue immediately after noting it.
Entry & Common Areas
Kitchen
Bathrooms
Bedrooms
Utilities & Safety Systems
Exterior Access & Parking
Once complete, and before you leave the unit, review every item you marked Fair or Damaged and confirm you have at least one clear photo or video clip of each. When you move out, this checklist becomes the comparison baseline. See our move-out checklist for how to use this documentation when handing back the keys.
Submitting and Storing Your Record
Your inspection only has legal weight if it is shared and preserved properly. Email a copy of your completed checklist and all photos to your landlord or property manager on the same day you conduct the walk-through. Request a written acknowledgment. Most email platforms timestamp automatically, creating a durable record that is difficult to dispute.
Store copies in at least two places: a cloud service and a local folder. Print a physical copy if the tenancy is high-value or if your landlord is unresponsive to digital communication. Keep these records for the entire length of your tenancy, plus the period your state allows for deposit disputes after move-out.
Once you're settled, you may also want to consider practical upgrades. Our smart home upgrade checklist for renters covers removable, landlord-friendly improvements that won't jeopardize your deposit.
This article is for general informational purposes only and does not constitute legal or financial advice. Tenant rights and landlord obligations vary by state and locality. Consult a local tenant rights organization or licensed attorney for guidance specific to your situation.