Why Move-In Documentation Matters
Security deposits typically equal one to two months' rent - a significant sum worth protecting. When you move out, a landlord can legally deduct from that deposit only for damage you caused beyond normal wear and tear. Without a clear record of what the unit looked like when you arrived, distinguishing pre-existing damage from new damage becomes a matter of competing claims.
Courts and arbitrators handling deposit disputes consistently favor the party with contemporaneous written and photographic evidence. Renters who skip the move-in walkthrough often lose disputes not because they caused damage, but because they can't prove they didn't. If you're new to renting, the First-Time Renter's Roadmap covers the broader context of this step within your overall move-in process.
Do This Before You Unpack Anything
Walking through an empty unit is essential. Once furniture and boxes arrive, pre-existing scratches, stains, and damage become impossible to distinguish from your own. Complete your full documentation before a single item crosses the threshold. If the landlord won't allow access before your official move-in date, document the moment you receive keys.
For a complementary checklist format you can print and carry room-to-room, see the Move-In Inspection Checklist for Renters.
Smartphone with camera
Capture timestamped photos and video of every room and surface.
Move-in inspection form
A room-by-room written checklist to record the condition of each surface and fixture.
Cloud storage account
Back up photos and videos off-device immediately so files can't be lost or disputed.
Flashlight or phone torch
Illuminate closets, under-sink areas, and corners where camera flash may not reach.
Small notepad or notes app
Log observations room-by-room as you go so nothing is forgotten before writing the formal report.
What to Document and How
Effective documentation is systematic, not casual. Random snapshots from across a room rarely capture the detail needed in a dispute. The goal is a room-by-room visual and written record specific enough that any impartial viewer can confirm each pre-existing defect.
What you will need
Follow the steps below before moving any belongings in. The entire process typically takes 30 to 90 minutes depending on unit size. Think of this time as protecting the full value of your deposit.
Review your lease before entering
Before the walkthrough begins, scan your lease for any clauses describing the unit's current condition, included appliances, or landlord-acknowledged defects. Note what you're supposed to receive so you can flag anything missing or different. Understanding your security deposit rights now will help you understand what's at stake during this process.
Photograph every room systematically
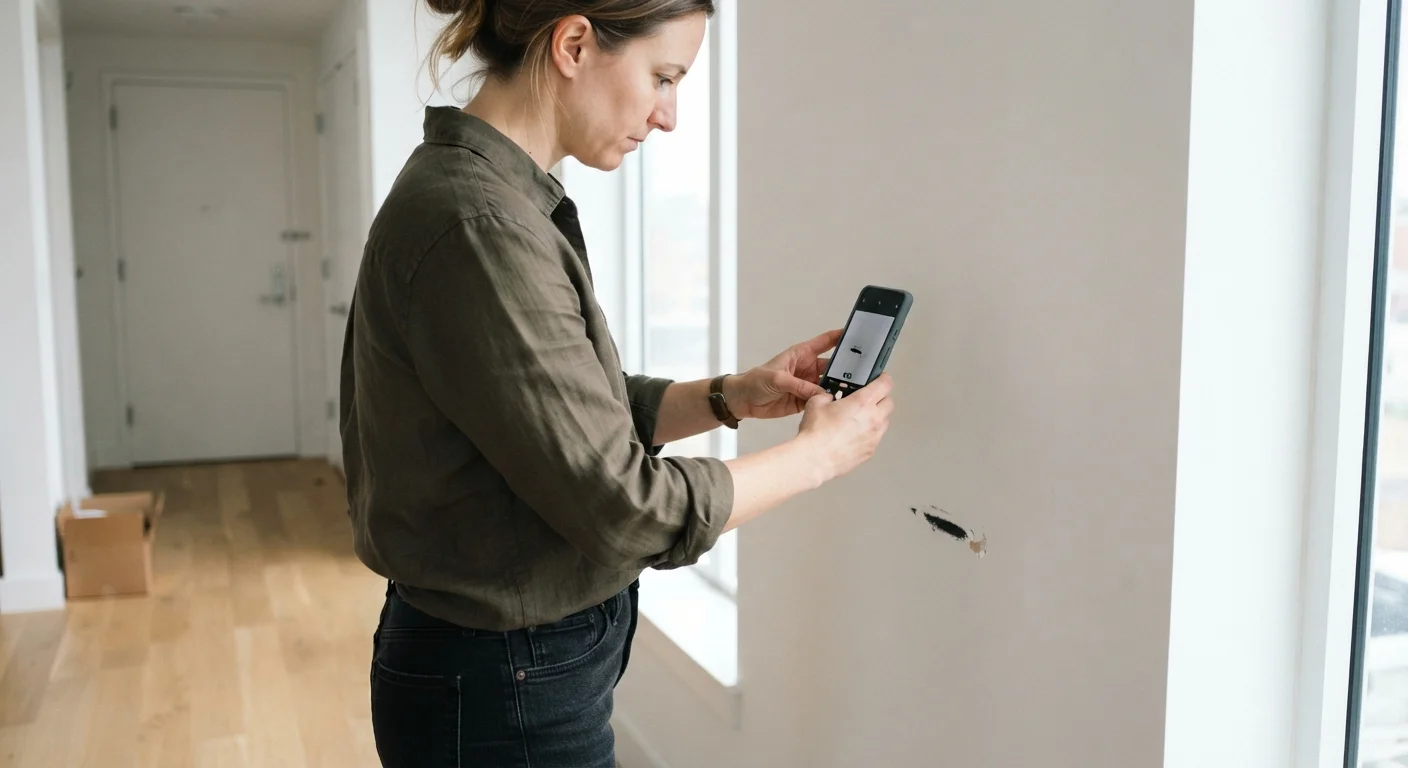
Start at the front door and move clockwise through each room. Shoot four corner shots of every room to capture walls, floors, and ceilings together. Then photograph each wall individually, followed by close-ups of any scuffs, holes, stains, or discoloration. Don't skip closets, hallways, or utility areas.
Record a walkthrough video
Narrate a single continuous video walkthrough of the entire unit. Speak aloud as you pan - describe what you see, including minor imperfections. A video provides context that individual photos can't, showing the scale and location of damage within a room. Aim for completeness over brevity; a 10-minute video is worthwhile.
Test every fixture, appliance, and system
Run each faucet and check for leaks under sinks. Flush toilets. Test every light switch and electrical outlet. Open and close all windows and doors, noting any that stick, don't latch, or have broken hardware. Run the stove burners, oven, dishwasher, and refrigerator. Check heating and cooling. Note serial numbers on appliances where accessible.
Complete and sign the inspection form
Fill out the inspection checklist room by room, describing each defect in specific, objective language - "1-inch scuff on north wall of bedroom, 4 feet high" is more useful than "some marks on wall." Photograph each item you describe so photos and written notes correspond directly. Sign and date the form.
Get the landlord's signature - or a written acknowledgment
Ideally, your landlord or property manager walks through with you and co-signs the inspection form. If they're not present, submit your completed form and photo summary by email immediately after your walkthrough and request a written acknowledgment. Keep a copy for yourself regardless of whether they sign. This shared record is your primary defense if a deposit dispute arises at move-out.
Back up and store everything
Upload all photos, videos, and the signed inspection form to cloud storage immediately. Email yourself the files as a secondary backup. Store a printed copy of the inspection form with your lease documents. When you eventually move out, this archive - paired with comparable move-out documentation - is what distinguishes normal wear and tear from damage you owe.
Use Email to Create a Paper Trail
After completing your walkthrough, email your landlord a summary of all noted issues along with your photo and video attachments. Their reply - even a simple acknowledgment - creates a timestamped, third-party record. This single step is often the deciding factor in deposit disputes.
Verbal Agreements Won't Protect You
If a landlord verbally acknowledges a broken fixture or existing stain but nothing is written down, that conversation offers no legal protection. Every acknowledged defect must appear in writing - on a signed inspection form, in an email, or in a text message that records the landlord's response. Oral promises about repairs are similarly unenforceable in most jurisdictions.
Once you're settled, keep documentation habits going: written maintenance requests and written responses build the kind of tenancy record that supports a smooth move-out when the time comes.