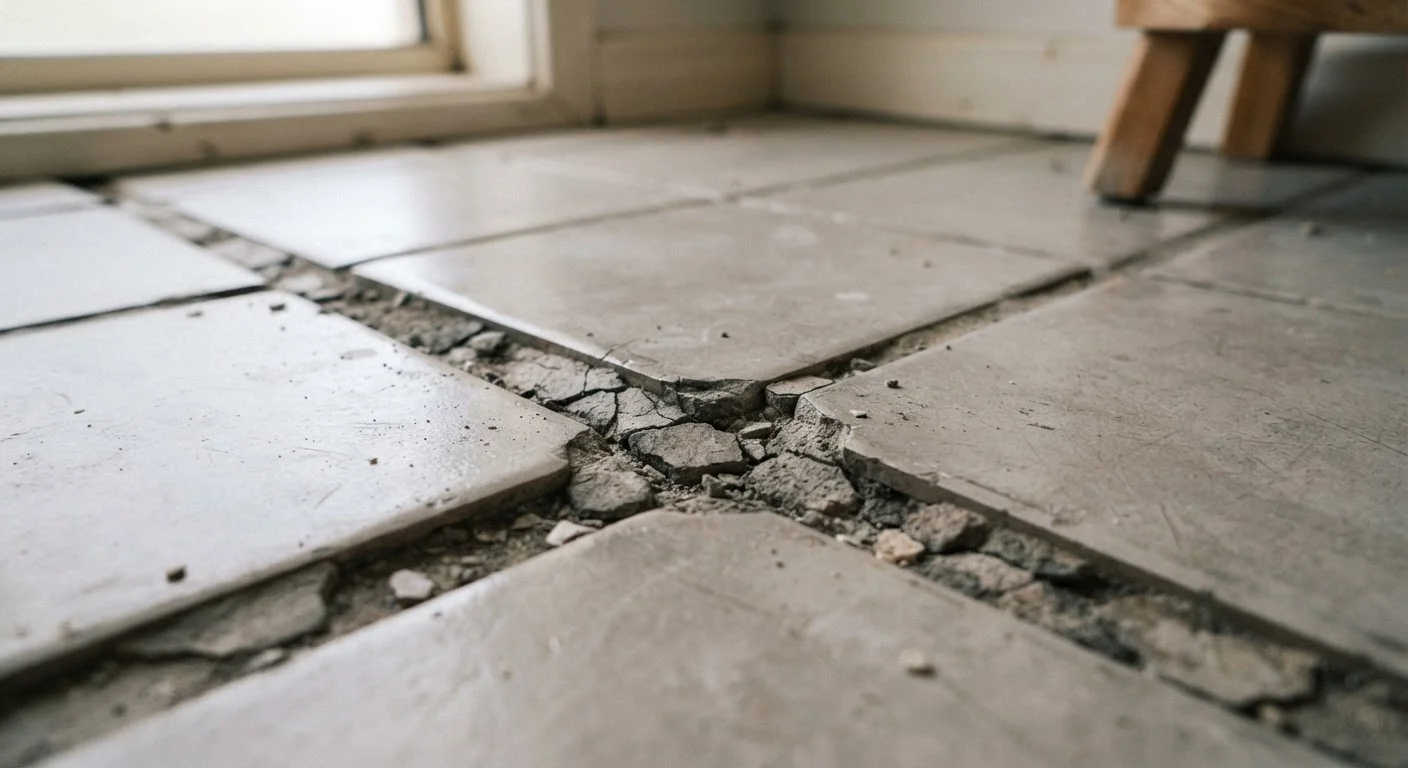
Why Regrout Jobs Rarely Stick
If you've regrouted the same section of tile twice in the past few years and the cracks keep coming back, the grout itself almost certainly isn't the problem. Grout is a finish material - it bridges the gaps between tiles but does very little structural work on its own. When it fails repeatedly, something underneath it is moving, settling, or absorbing moisture in ways the grout simply cannot accommodate.
Understanding the real causes of recurring grout failure can save homeowners significant time and money. Regrouting over an unresolved underlying issue is, at best, a temporary cosmetic fix. At worst, it masks water damage that quietly worsens behind the wall or beneath the floor.
Installing tile over a substrate that flexes or isn't properly bonded.
Why it happens: Homeowners and even some contractors lay tile over existing floors or walls without confirming the substrate is rigid and fully adhered. Wood subfloors with any give, or drywall in wet areas, are common culprits.
Omitting or misplacing expansion joints in the tile layout.
Why it happens: Expansion joints - soft, flexible gaps that allow for natural building movement - are frequently skipped because they're not visually obvious in finished installations. Many DIYers aren't aware they're required by industry standards.
Using the wrong grout type for the application or joint width.
Why it happens: Grout products are not interchangeable. Sanded grout is required for joints wider than 1/8 inch; unsanded grout is used for narrower joints. Mixing these up - or using a standard cement grout in a high-movement area - leads to premature cracking.
Allowing moisture to penetrate tile and grout before it has fully cured.
Why it happens: New grout requires adequate cure time - typically 24 to 72 hours depending on the product - before exposure to water or heavy foot traffic. Rushing this step weakens the final bond significantly.
Regrouting over cracked grout without removing the failed material.
Why it happens: Applying fresh grout on top of existing cracked grout seems like an efficient shortcut, but the new material can't bond properly to loose or deteriorated substrate beneath.
Structural and Installation Mistakes That Drive Grout Failure
Many grout problems trace back to decisions made - or skipped - during the original tile installation. Getting those fundamentals right is critical, whether you're doing new work or troubleshooting an existing floor or wall. For a closer look at proper sequencing from the start, see our guide to backsplash surface prep and grouting.
Don't Ignore Soft or Hollow-Sounding Tiles
Before regrouting, press firmly on each tile and tap lightly with a hard object. A hollow sound or slight movement indicates the tile has debonded from the substrate - a condition that will cause any new grout to crack again quickly. Tiles in this condition need to be removed, the substrate assessed, and the tile reset with fresh adhesive before grouting.
When cracking is widespread and follows a regular pattern across multiple tile rows, the substrate - the layer the tile is bonded to - is the most likely culprit. A substrate that flexes, even slightly, transmits that movement directly into the rigid grout lines. Standard drywall behind shower walls, for instance, swells and degrades when exposed to repeated moisture, causing the entire tile assembly to shift over time.
Where structural repairs or substrate replacement are needed, particularly in wet areas involving waterproofing layers, consult a licensed tile contractor before attempting the work yourself. Waterproofing failures in showers and tub surrounds can lead to rot, mold, and costly remediation.
This article is for general informational and educational purposes only. Always verify local building codes, permit requirements, and consult a licensed professional for structural or waterproofing work.