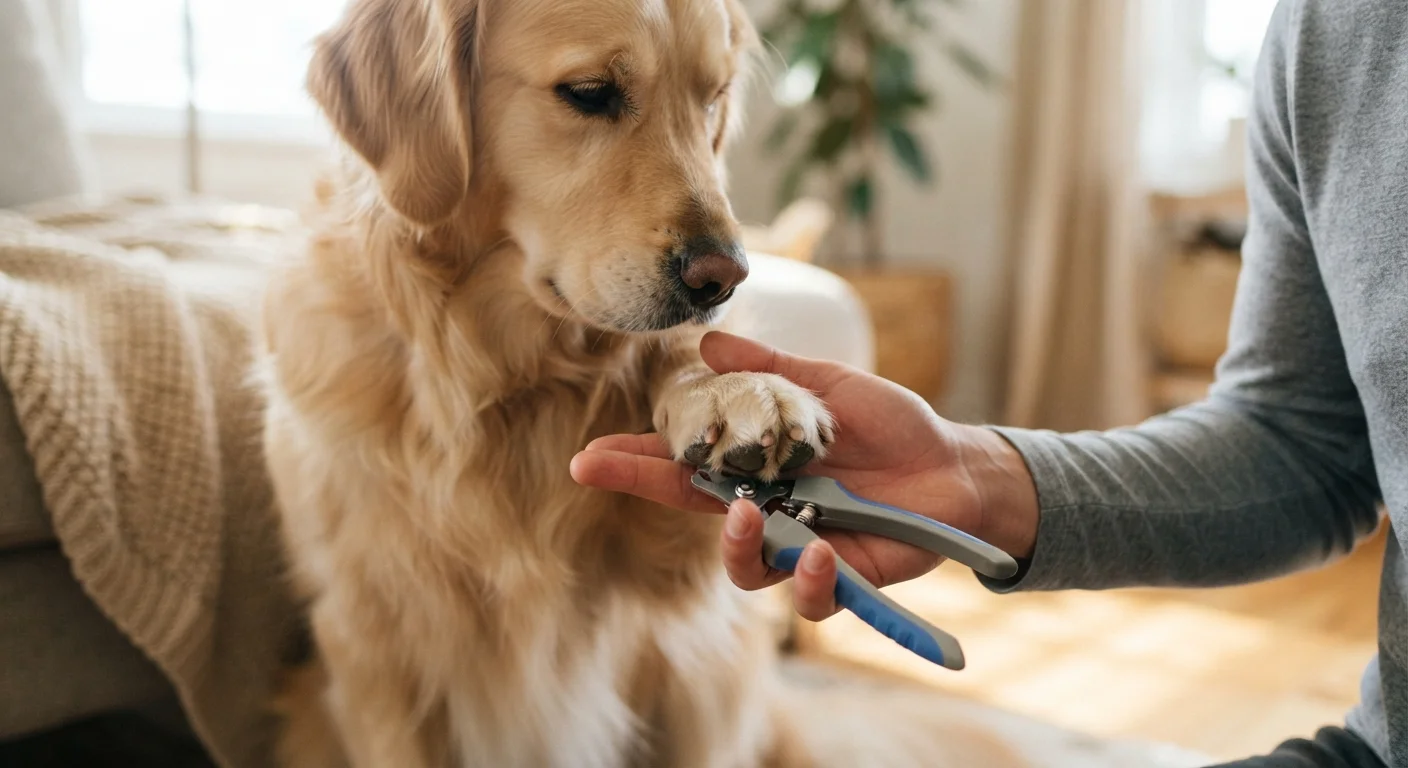
Why Pets Fear Nail Trims
Nail trimming is one of the most commonly dreaded grooming tasks for pet owners - and for good reason. Many pets, both dogs and cats, react to clippers with squirming, vocalizing, or outright aggression. Understanding why this happens is the first step toward changing it.
The most frequent cause is a painful past experience, particularly having the quick cut. The quick is the living tissue inside each nail that contains blood vessels and nerves. When nicked, it causes sharp pain and bleeding that a pet does not forget. Even one bad trim can create lasting avoidance behavior.
Some pets are also highly sensitive to touch on their paws - a trait that varies by individual and breed. Restraint itself can feel threatening, especially for animals that haven't been handled extensively since puppyhood or kittenhood. For these pets, the entire sequence (being held still, hearing the clipper sound, feeling pressure on the nail) triggers a stress response that looks like stubbornness but is actually fear.
To learn more about how anxiety manifests across different situations, see our guide on recognizing anxiety signals in pets. Understanding your pet's baseline stress cues will help you read their body language throughout the desensitization process.
Signs Your Pet Is at Their Limit
Watch for panting, yawning, licking lips, whale eye (showing whites of eyes), tucked tail, flattened ears, growling, or swatting. These are stress signals, not misbehavior. When you see them, calmly end the session and try again later. Pushing past these cues damages trust and makes future sessions harder.
What You'll Need Before You Start
Having the right setup reduces friction and increases the chance of a calm session. Gather everything before you begin so you're not searching mid-trim.
What you will need
Sharp nail clippers (scissor or guillotine style)
Used to trim the nail cleanly; dull clippers increase pressure and discomfort.
High-value treats
Rewards each step of the desensitization process to build positive associations.
Styptic powder
Stops bleeding immediately if the quick is accidentally cut.
Non-slip mat or towel
Provides stable footing so your pet feels less anxious during handling.
Flashlight or nail light
Helps illuminate the quick on dark-colored nails to reduce the risk of cutting it.
Step-by-Step: Desensitizing Your Pet to Nail Trims
The following steps use systematic desensitization - a gradual, reward-based approach supported by animal behavior science. Move at your pet's pace. If your pet shows signs of stress (panting, whale eye, tucked tail, flat ears, hissing, swatting), go back one step rather than pushing forward.
Handle your pet's paws daily - without clippers
Before introducing any tools, spend one to two weeks simply touching and holding your pet's paws during calm, relaxed moments. Gently press each toe and extend the nails slightly. Follow each paw-touch with a treat. The goal is to make paw handling feel ordinary and safe.
Introduce the clippers as a neutral object
Place the clippers on the floor and let your pet sniff them at their own pace. Offer a treat when they approach. Over a few sessions, hold the clippers near your pet's paws without using them. Click or tap the clipper blades together so your pet can hear the sound, then immediately reward with a treat. Repeat until the sound produces no visible stress response.
Touch the clippers to the paw - no trimming yet
With your pet comfortable around the clippers, begin pressing them gently against each nail without cutting. Treat generously after each nail. Do this across several sessions until your pet sits calmly through the contact. This step should not be rushed; some pets need several days here.
Trim one nail and stop
When your pet is relaxed with clipper contact, trim just the very tip of one nail - only the translucent end, well clear of the quick. Give an immediate, enthusiastic reward. End the session there. This builds a positive association: one nail, one treat, done. Gradually increase to two nails, then three, over separate sessions.
Build toward a full trim across multiple sessions
Over time, work up to trimming all nails in one session. Continue pairing every nail with a treat. Keep sessions short - under ten minutes - and always end on a calm, successful note. If a session goes poorly, close with something easy your pet knows how to do (like a sit or a paw touch) so they finish with a win.
If You Cut the Quick
Apply styptic powder directly to the nail tip and hold firm pressure for 30 to 60 seconds. Most quick bleeds stop within a few minutes. Stay calm - your pet will mirror your anxiety. Do not continue trimming that session. If bleeding does not stop within 10 minutes, contact your veterinarian.
This process is similar to the approach used for toothbrushing - another routine many pets resist initially. See our article on introducing toothbrushing without the struggle for a comparable step-by-step framework. For broader concerns about anxiety-related behavior, the evidence-based interventions for pet stress guide is a useful companion resource.